Loading the comparison…
Photo
A 1200 × 800 image becomes 2400 × 1600 at 2×. Choose a moderate increase when the original already looks good.
Use this presetEnhanceMyPhoto image tools
Enlarge photos 2× or 4×, or choose a reachable 2K, 4K, 8K or 16K long edge. Check the exact dimensions and credits before processing.
JPG, PNG or WebP · up to 20 MB and 16 MP each
Up to 20 source images. Batch processing uses your existing membership access.
For large photos, JPG usually makes a smaller file. PNG results must also fit the 100 MB download limit.
Loading tool configuration…
Review the credit cost before processing. Uploading and browsing presets do not use AI credits.
Ready
 OriginalResult
About this tool
An AI image upscaler increases an image’s pixel dimensions while estimating edges and texture. Use Enhance My Photo for a larger store gallery, presentation or print layout, and check the downloaded dimensions before publishing.
Processed result
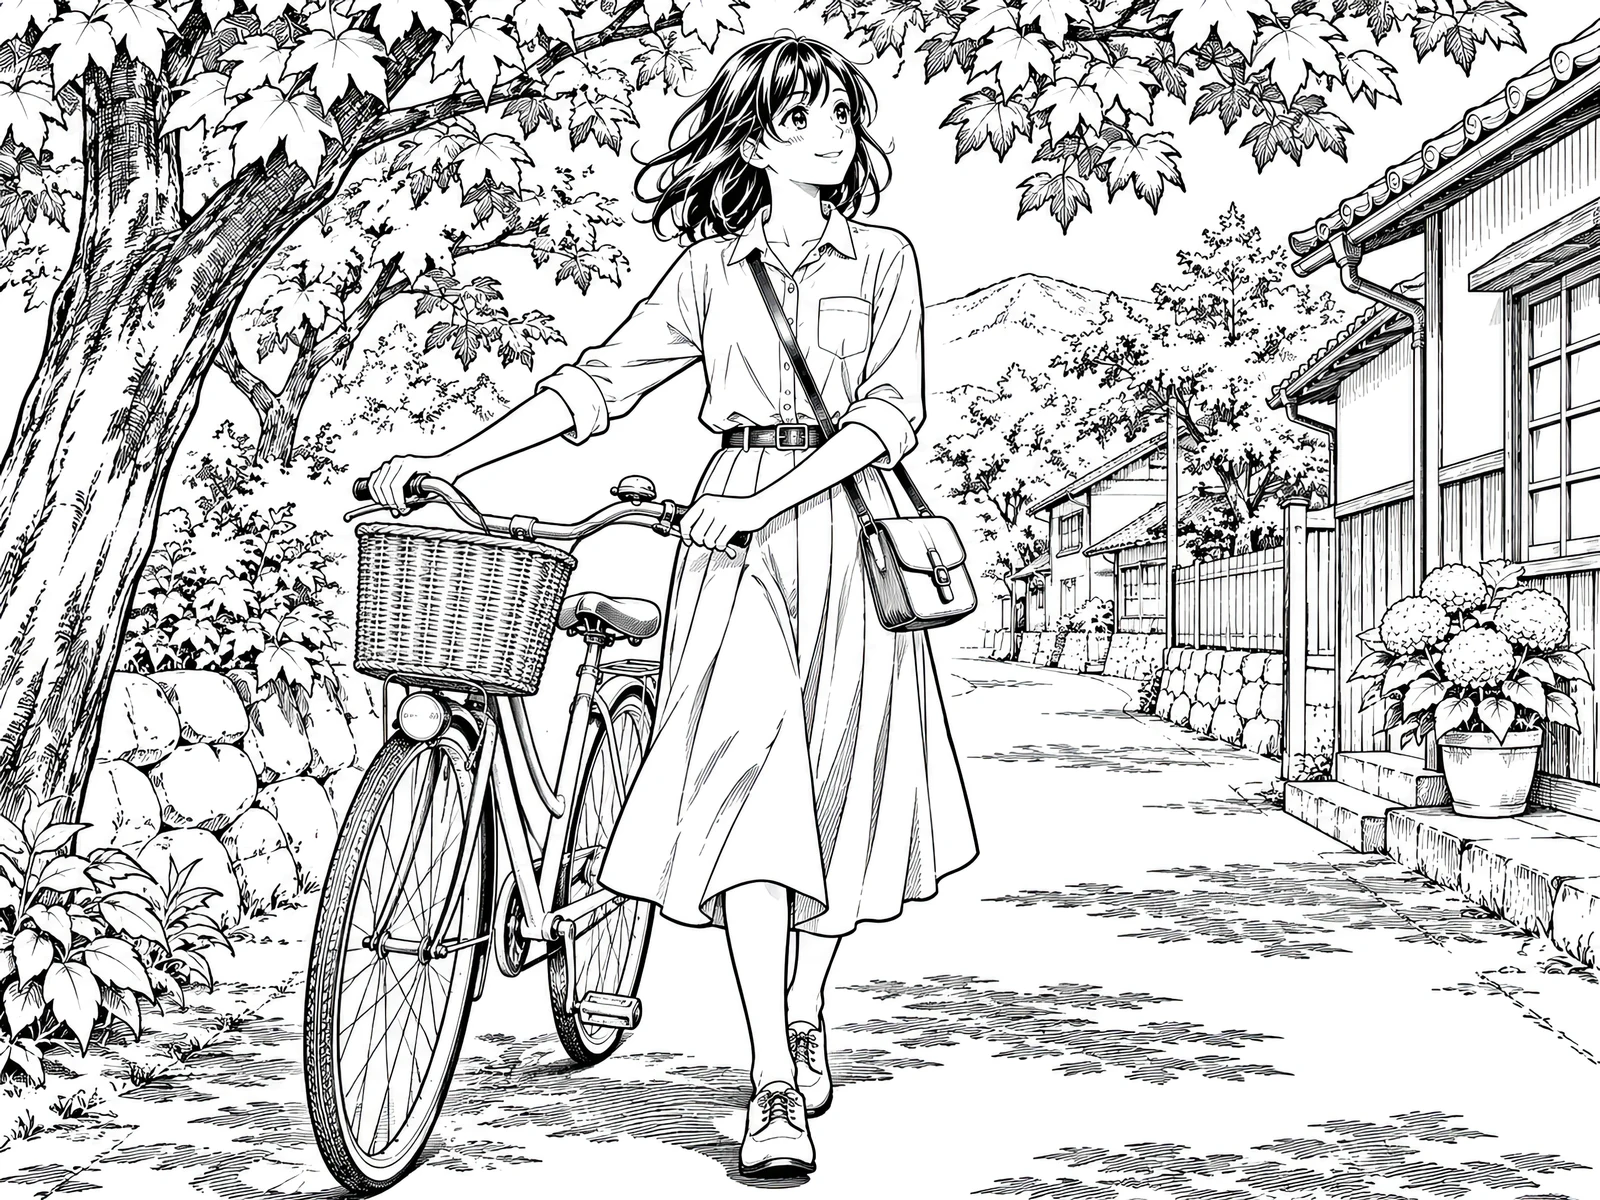
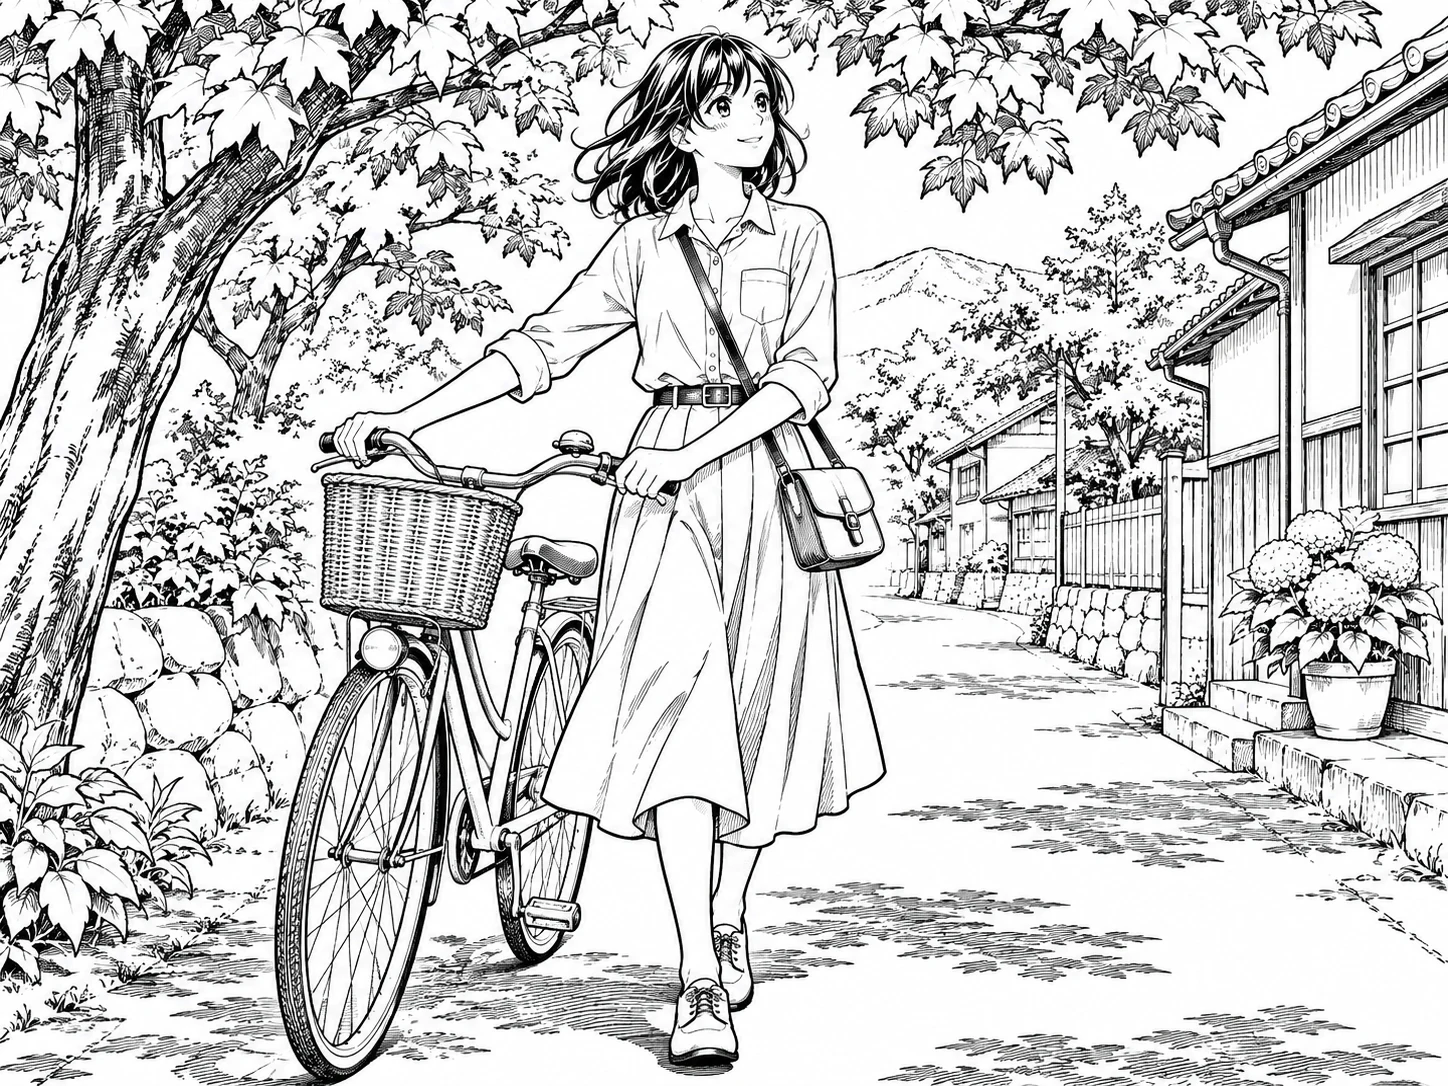
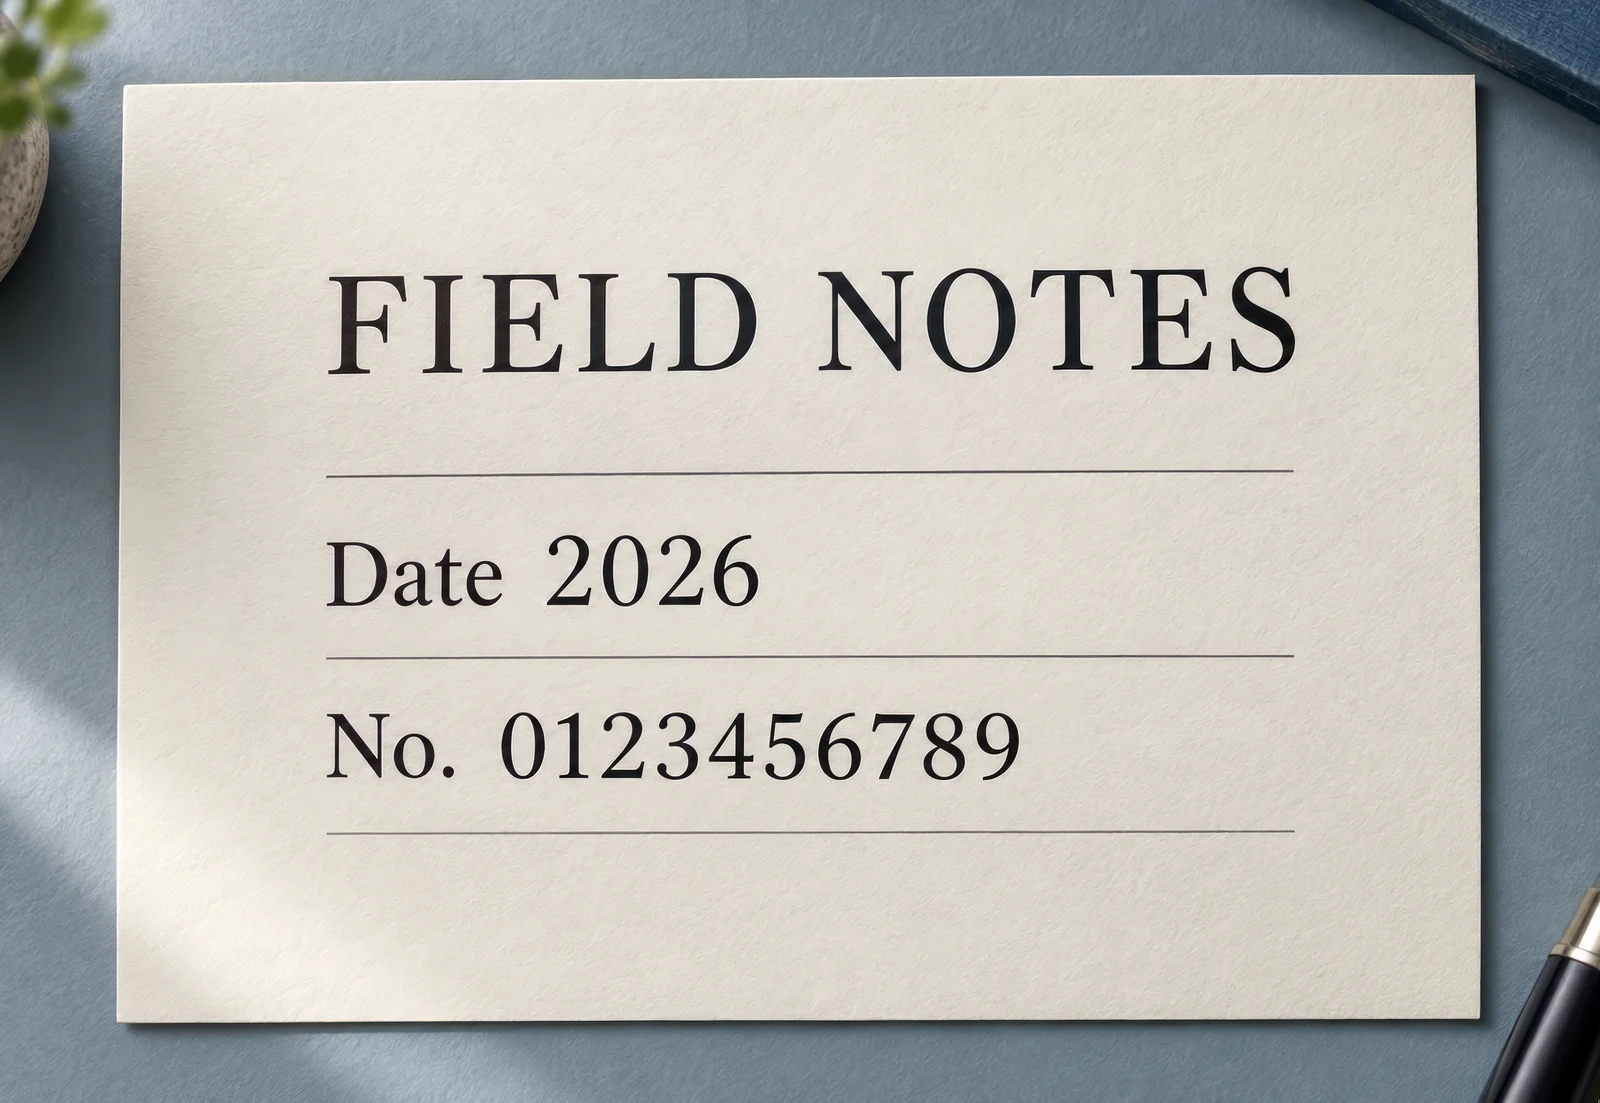
Drag each comparison to inspect the edit. Choose a preset to try the same approach with your own photo.
A 1200 × 800 image becomes 2400 × 1600 at 2×. Choose a moderate increase when the original already looks good.
Use this presetLong edge targets preserve your aspect ratio. 2K, 4K, 8K and 16K mean 2048, 4096, 8192 and 16384 pixels, subject to a maximum 4× pass.
Use this presetChoose photo, artwork or text processing, then export JPEG or PNG. Keep the original and inspect faces, lettering and repeated patterns.
Use this presetImage upscaler
Upload the original JPG, PNG or WebP. Check its width and height before selecting a target.
Choose 2×, 4× or an available long edge target. Review the exact output dimensions and credit estimate.
Process once, compare details and download the original result. Use the file’s pixel dimensions to plan your final layout.
A focused workflow for your image
Review the credit cost before processing. Uploading and browsing presets do not use AI credits.
Crop and make content changes before the final enlargement. Upscaling adds pixels; it does not expand the scene.
Start with 2× and check at the intended viewing size. A larger file cannot verify details missing from the original.
For a 10 × 8 inch print at 300 pixels per inch, aim for 3000 × 2400 pixels. Ask the printer about cropping and viewing distance.
Previews show results made with this tool from our synthetic sample images. A preset fills in settings; it never starts processing or spends credits.
Image upscaler
One AI pass can enlarge each edge by up to four times. A 1024 pixel long edge can reach 4K; reaching 16K requires a source long edge of at least 4096 pixels, within the upload limits.
4× multiplies both source dimensions by four. 4K sets the long edge to 4096 pixels while keeping the ratio. A 1200 × 800 source becomes 4800 × 3200 at 4×, or approximately 4096 × 2731 at 4K.
Upscaling primarily adds resolution. For camera shake or missed focus, try Unblur Image first and review the repair before enlarging.
Yes. The downloadable file keeps the full processed dimensions. Large results use a smaller optional preview; a preview failure does not invalidate a completed download.
Upload a static JPG, PNG or WebP up to 20 MB and 16 megapixels. References have the same limits. Use the best original available.
The server checks the cost before processing. If the quote changes, you must confirm it. Uploading, choosing presets and viewing existing results do not start a paid generation.
Batch access follows your current membership, with up to 20 source images. Every masked edit needs its own saved selection. Failed items can be retried with a new quote.
Download the original result here. Signed in accounts can use history according to their retention policy. Temporary guest results need the active session and expire.
AI can estimate or redraw details. Compare faces, text, product labels and fine texture with your original. Keep the original and review the result before publishing.
YOUR NEXT STEP
Keep the result you like, then choose one focused tool for the next change.
Choose light, medium or strong sharpening, then compare edges, skin and small details with your original.
Sharpen imageUse deblurring when edges look smeared. If you see grain instead, start with noise reduction.
Unblur ImageReduce grain in dim photos and scans. Check fine texture so skin and fabric still look natural.
AI DenoiseAdd your source, choose the change, and review the credit cost before processing.
Edit your image