Loading the comparison…
Light
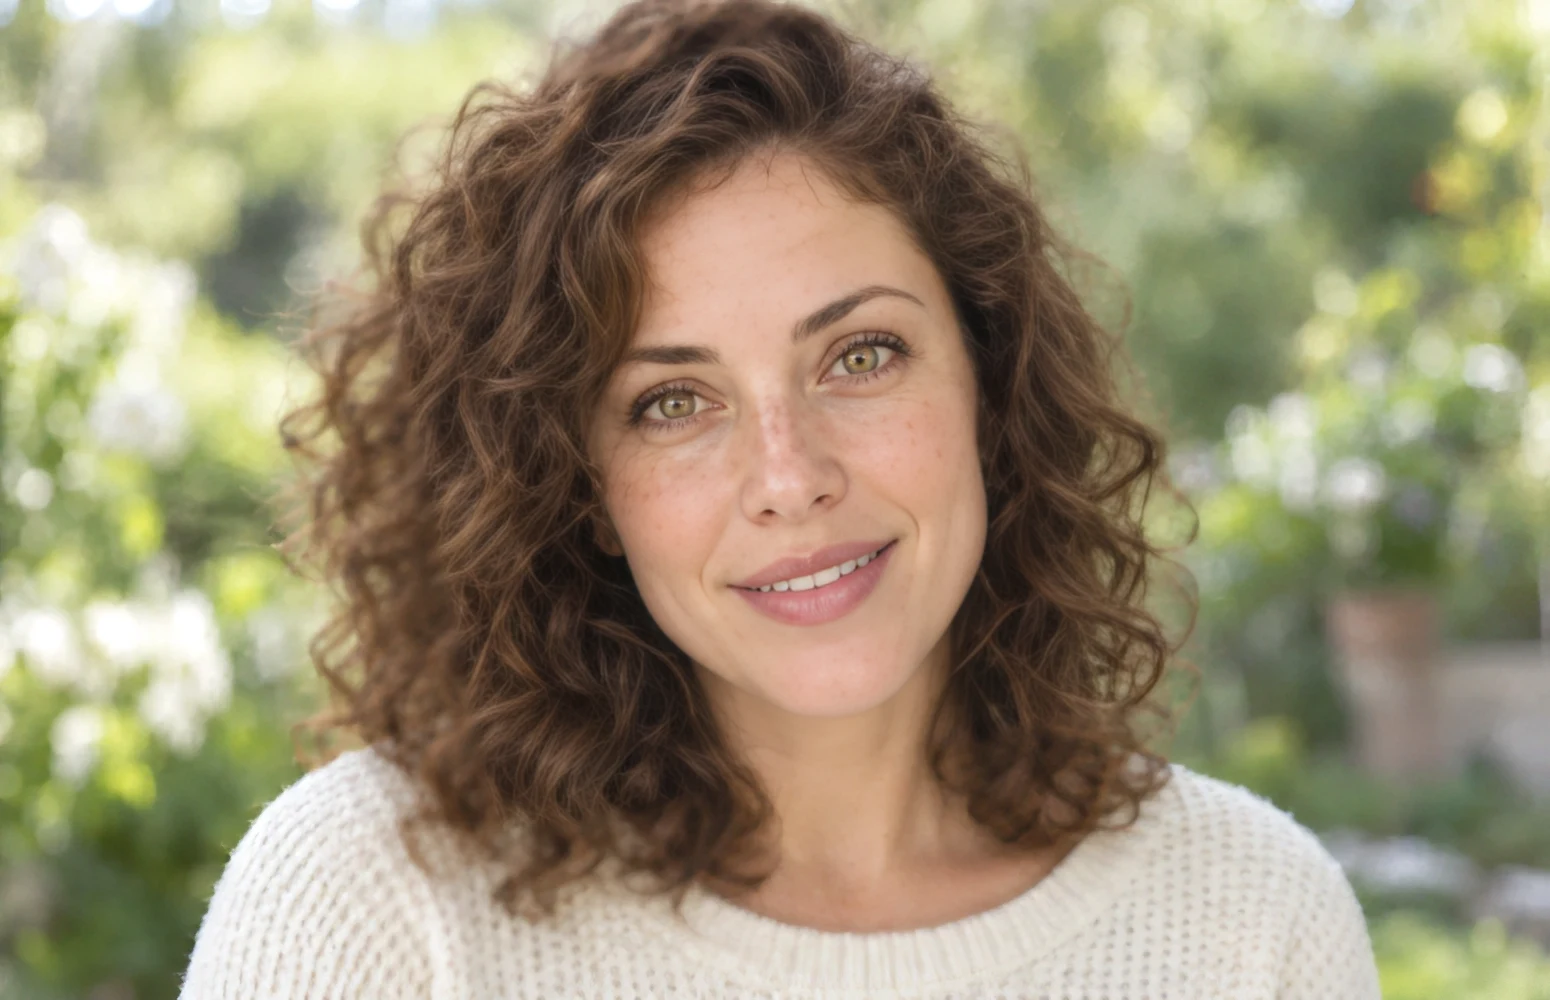
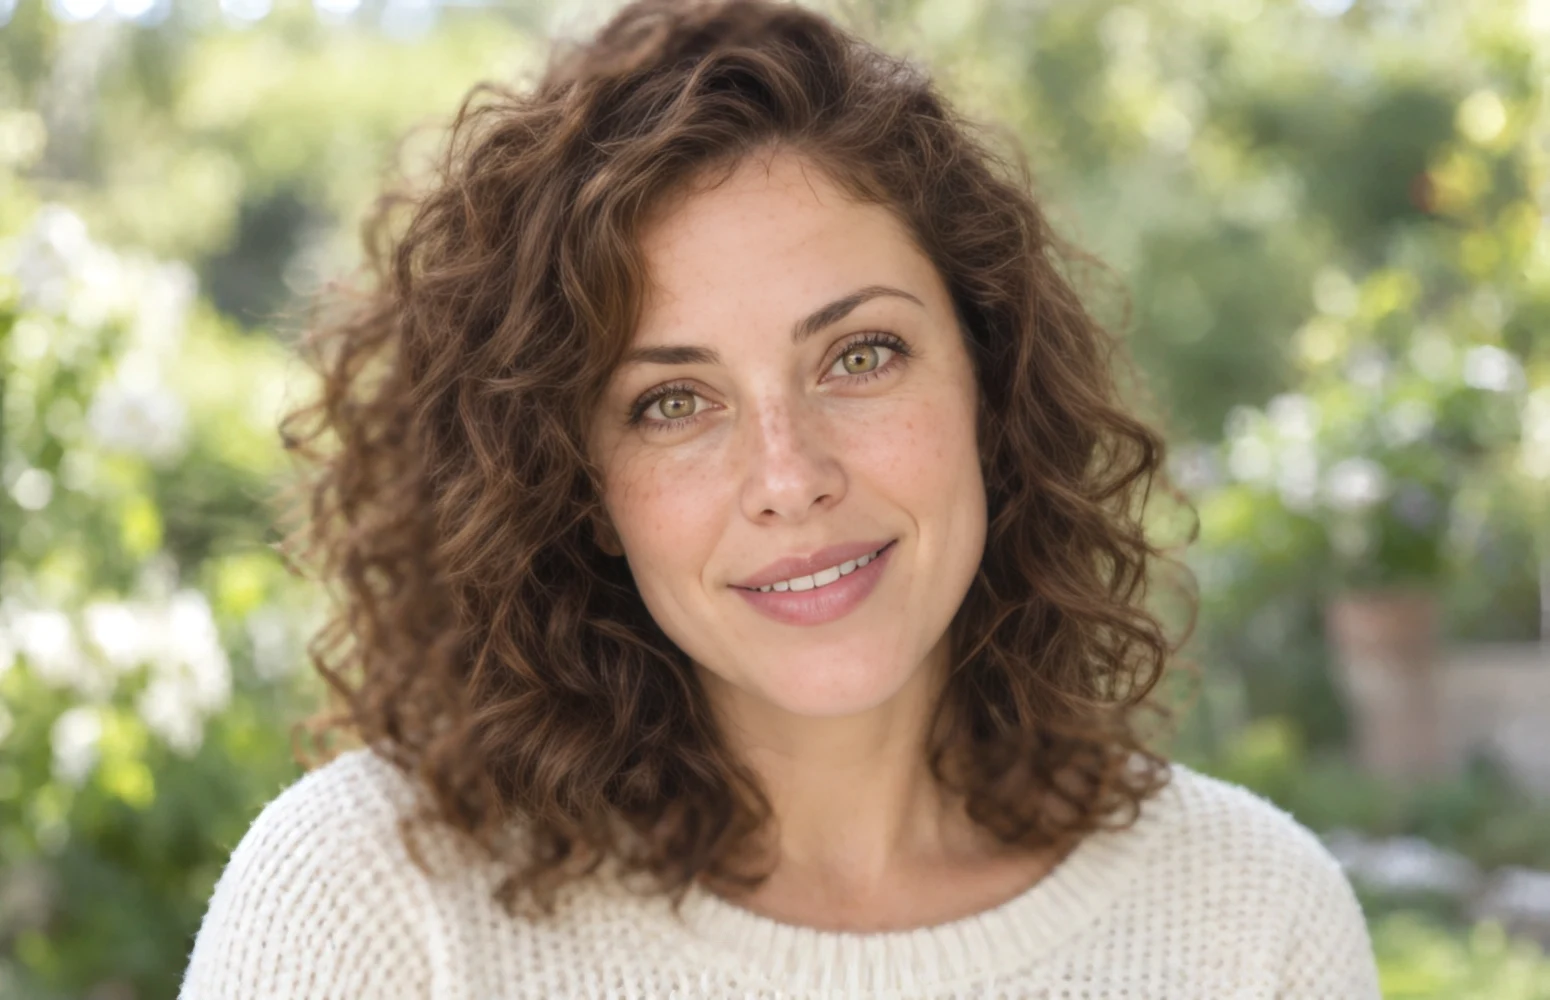
Start with light sharpening for skin, hair and knit texture. Check that faces remain natural.
Use this presetEnhanceMyPhoto image tools
Choose light, medium or strong sharpening, then compare edges, skin and small details with your original.
JPG, PNG or WebP · up to 20 MB and 16 MP each
Up to 20 source images. Batch processing uses your existing membership access.
Loading tool configuration…
Review the credit cost before processing. Uploading and browsing presets do not use AI credits.
Ready
 OriginalResult
About this tool
Image sharpening makes soft edges and fine textures easier to inspect. Enhance My Photo offers three strengths for portraits, product photos and everyday images, with the original available for comparison.
Processed result
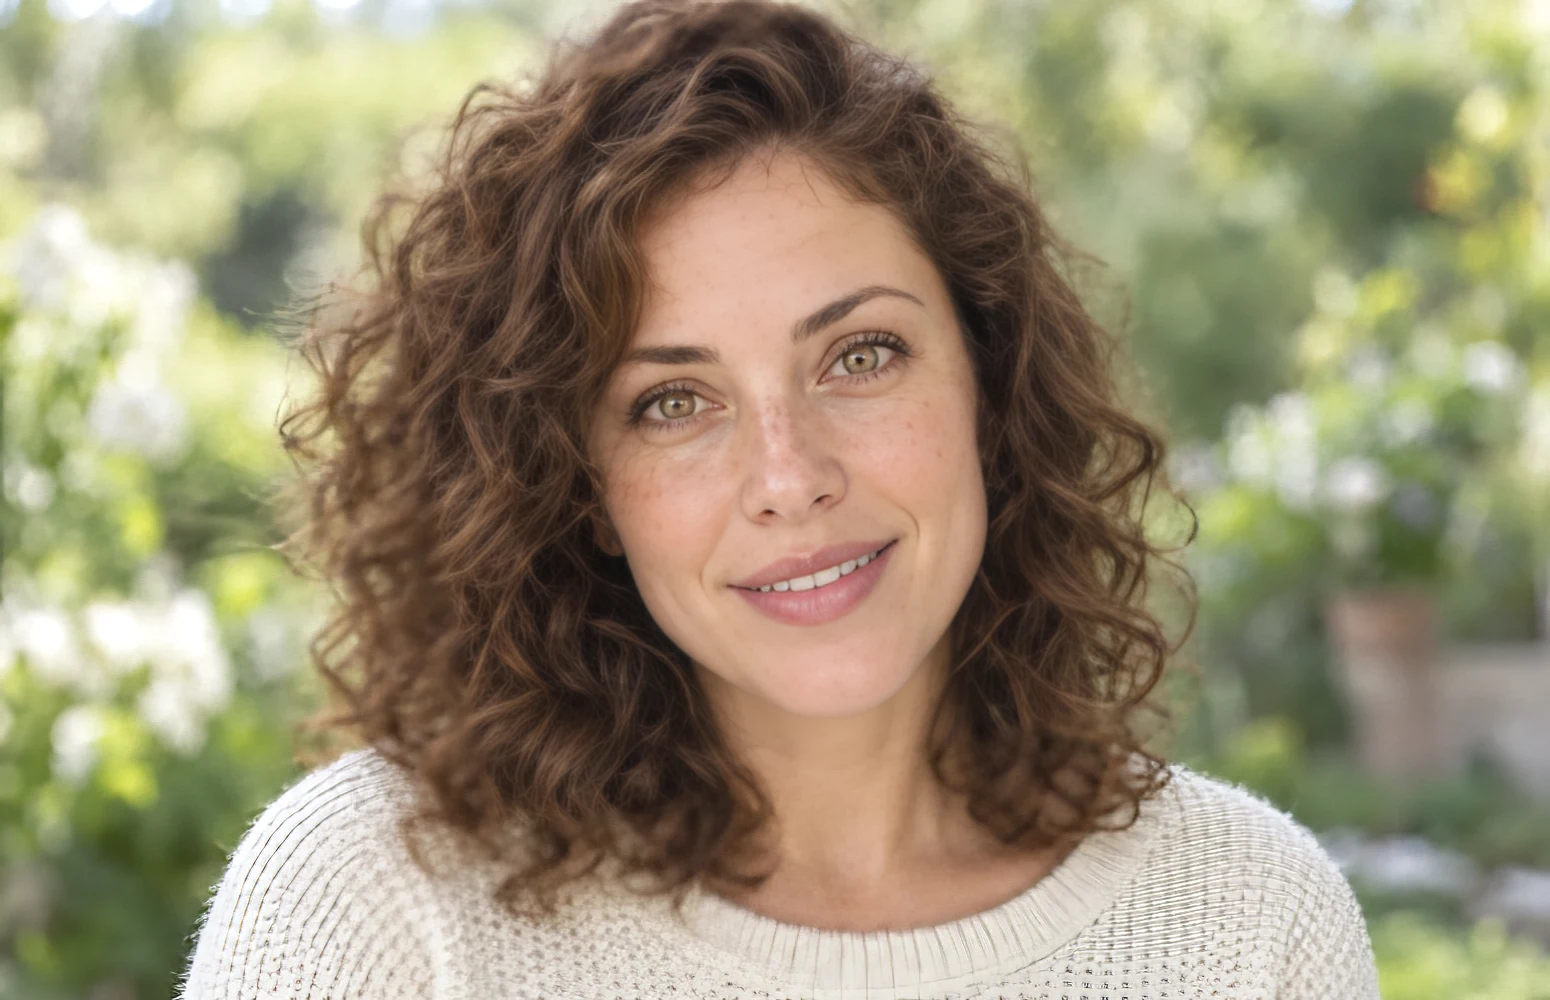
Drag each comparison to inspect the edit. Choose a preset to try the same approach with your own photo.
Start with light sharpening for skin, hair and knit texture. Check that faces remain natural.
Use this presetUse medium for a balanced treatment of product outlines, architecture and ordinary soft details.
Use this presetTry strong on a separate version when softness is pronounced. Inspect halos, noise and artificial texture before choosing it.
Use this presetSharpen image
Upload a soft photo within the file and pixel limits.
Choose light, medium or strong and review the credit cost.
Compare the same edges and textures with the original, then download the PNG result.
A focused workflow for your image
Review the credit cost before processing. Uploading and browsing presets do not use AI credits.
A slightly soft image is a better starting point than an extremely blurred subject. Keep expectations tied to the source.
Avoid sharpening repeatedly. Compare a fresh version from the original at each strength.
For visible grain, consider AI Denoise first. For a larger pixel size, finish with Image Upscaler.
Previews show results made with this tool from our synthetic sample images. A preset fills in settings; it never starts processing or spends credits.
Sharpen image
Light uses Natural, medium uses Standard and strong uses Strong in the configured sharpening model. Stronger processing can introduce artifacts; compare the result before downloading.
Sharpen image increases edge clarity at the original dimensions. Image upscaler increases pixel dimensions. Unblur text focuses on photographed writing, documents and screenshots. Check important characters against the source; sharper edges do not establish missing text or detail.
Start with light for portraits and fine texture. Compare medium if edges still look soft. Use strong only after checking for halos or unnatural skin.
The sharpening workflow exports PNG. This keeps a clear result for further editing; use Image Converter if you need a smaller JPEG or WebP copy.
Upload a static JPG, PNG or WebP up to 20 MB and 16 megapixels. References have the same limits. Use the best original available.
The server checks the cost before processing. If the quote changes, you must confirm it. Uploading, choosing presets and viewing existing results do not start a paid generation.
Batch access follows your current membership, with up to 20 source images. Every masked edit needs its own saved selection. Failed items can be retried with a new quote.
Download the original result here. Signed in accounts can use history according to their retention policy. Temporary guest results need the active session and expire.
AI can estimate or redraw details. Compare faces, text, product labels and fine texture with your original. Keep the original and review the result before publishing.
YOUR NEXT STEP
Keep the result you like, then choose one focused tool for the next change.
Enlarge photos 2× or 4×, or choose a reachable 2K, 4K, 8K or 16K long edge. Check the exact dimensions and credits before processing.
Image upscalerUse deblurring when edges look smeared. If you see grain instead, start with noise reduction.
Unblur ImageImprove a screenshot or photographed page, then verify each important character against the original.
Unblur Text in ImagesAdd your source, choose the change, and review the credit cost before processing.
Edit your image