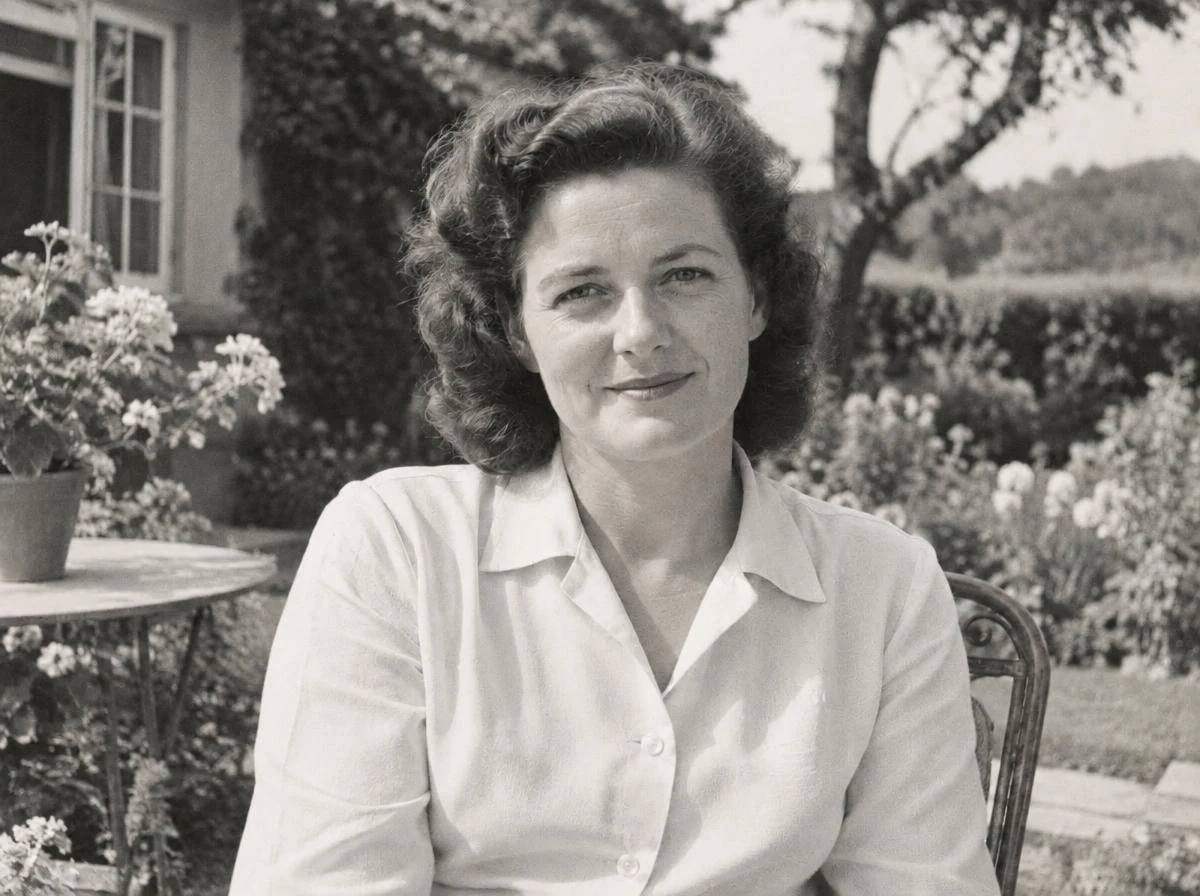
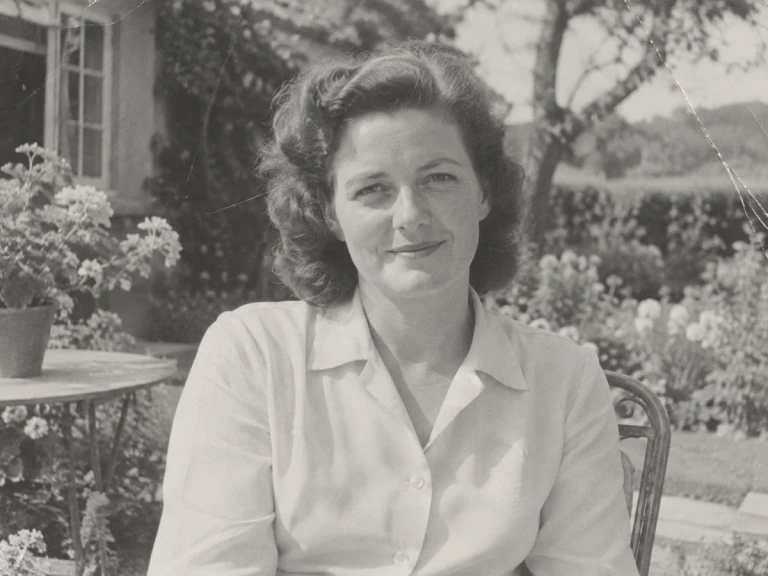
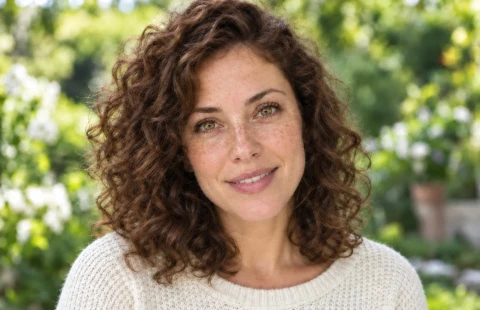
Bring more clarity to faded portraits and well-loved family photos. Upload a scan, improve light wear, and compare the details before saving your restored copy.
BeforeAfter
Loading example images…
AI-generated sample originals processed with our tools. Results vary by photo.
A little clearer. Just as meaningful.
Give your favorite memories another look
A focused restoration workflow, from the original scan to a version you can check side by side.
01
Bring details into focus
Improve soft edges and faded facial detail so familiar moments are easier to see.
02
Soften the signs of time
Try reducing light scratches and small imperfections in scanned photographs.
03
Keep the original character
Keep black-and-white photos monochrome and preserve the original color treatment. Colorization is a separate choice.
04
Restore right in your browser
Upload, choose a quality level, review the credit quote, and save your result without installing an editor.
What could your old photo benefit from?
Start with a well-lit scan. These are useful places to look when comparing your result.
Soft or blurry details
Try improving clarity in faces, clothing, and the details that make a photograph familiar.
Faded photographs
Improve visibility in prints that have lost some of their definition over time.
Distracting grain
Reduce distracting texture while checking that skin and fabric still look natural.
Light surface scratches
Try softening minor marks. Deep scratches and missing areas may still need manual work.
Low contrast
Make it easier to see subjects that blend into flat or faded backgrounds.
Old scanned prints
Work from a clear scan or evenly lit photograph with no glare or heavy compression.
Photos with a story
Make room for your memories
From a familiar face to a whole family album, give old photographs the attention they deserve.
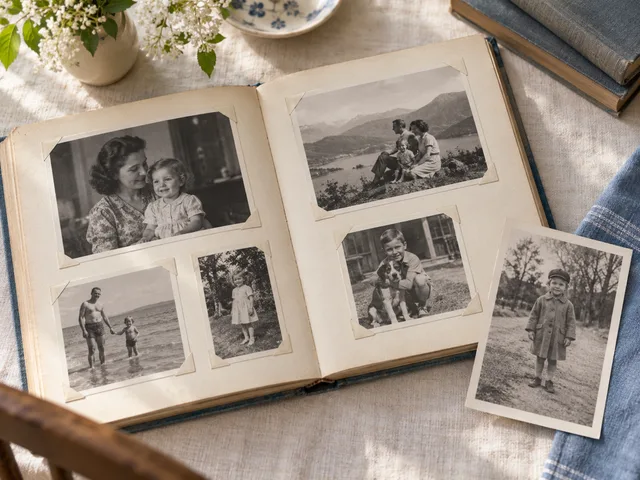
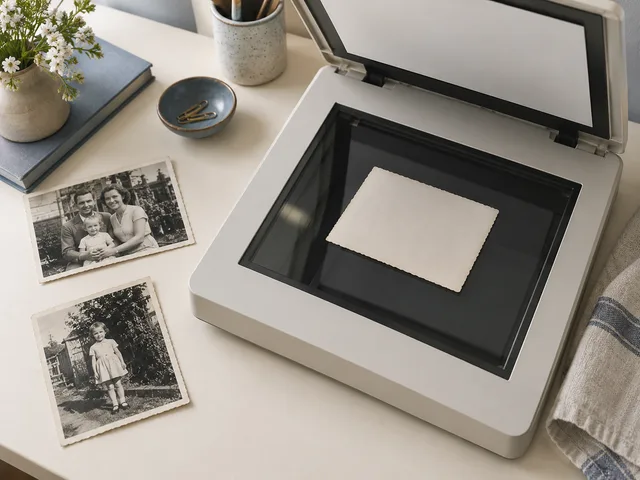
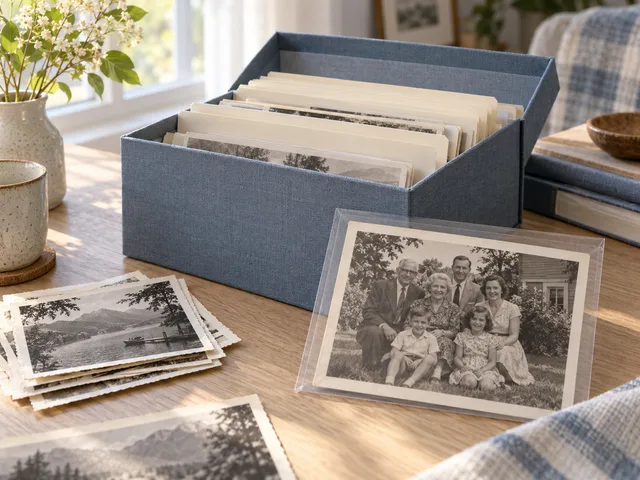
Album, scanning, and archive images are AI-generated scene illustrations, not restoration results.
BeforeAfter
Loading example images…
01
A familiar face, a clearer view
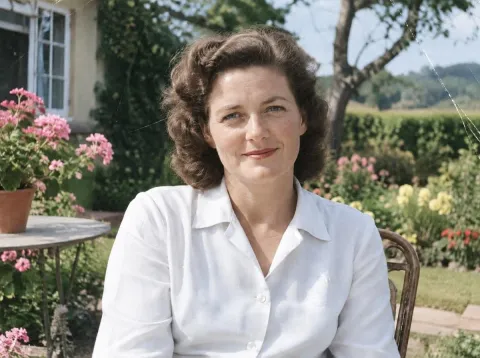
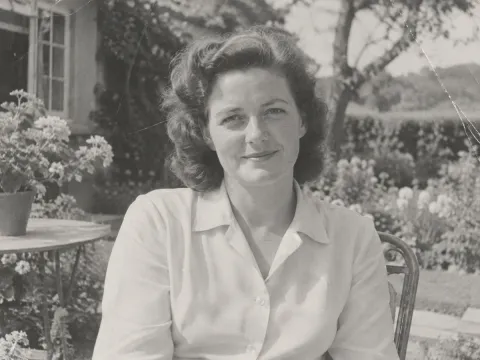
Drag across this sample to inspect the portrait and the lightly scratched areas. Compare facial features carefully.
AI-generated sample originals processed with our tools. Results vary by photo.
02
Revisit the family album
Create clearer digital copies of childhood photographs, family gatherings, and the people you remember.
03
Start with a better scan
An evenly lit, full-resolution scan gives restoration more useful detail to work with.
04
Save a copy for the future
Keep the original alongside your restored version, with names and dates recorded separately.
For the photographs you want to keep
A practical starting point for everyday memories and personal collections.
Family memories
Revisit portraits of parents, grandparents, and childhood moments.
Family history
Organize scanned photographs for a family tree or a personal history project.
Memory albums
Prepare digital copies to share or include in a commemorative album.
Digital preservation
Keep originals and edited versions together in your personal photo archive.
From upload to a result you can check
01
Upload your photo
Choose a clear JPEG, PNG or WebP original. Keep an untouched copy.
02
Choose quality and review the credit quote
Start processing and follow the task progress. Restoration and colorization are separate operations.
03
Compare and download
Inspect the result beside the original, then download the version you want to keep.
A clearer photo should still feel familiar
Use restoration as a new version of the photograph, and keep the original as your reference.
Look closely at faces
Compare eyes, expressions, clothing, and fine detail. AI may create plausible details that were not in the original.
Keep black and white
Restoration preserves the original black-and-white or color treatment. Create a separate color version only if you want one.
Use an evenly lit scan or photograph without glare. Keep an untouched copy, including any borders or handwritten notes you want to preserve.
Should I scan my photo or photograph it?
A clear, full-resolution scan is a good starting point. If you use a camera, keep the print flat, use even lighting, and avoid glare and shadows.
Can it reconstruct missing parts accurately?
Restoration cannot guarantee removal of scratches or reconstruction of torn or missing areas. Severe damage may require manual work, and AI may change important details.
Will AI change the person’s face?
It can. Check faces, expressions, hair, and clothing against the original, especially where details are missing or badly damaged.
Will my black-and-white photo be colorized?
No. Restoration and colorization are separate operations. Use the photo colorizer if you want a separate color interpretation.
Can I try this without signing up?
Try with available visitor or account credits. The workspace shows the exact quote before processing; Pro and batch access follow your account benefits.
Can I restore several photographs at once?
The upload card offers a batch mode for up to 20 photos. Batch access depends on your account benefits; the exact credit quote is shown before processing.
Which formats and dimensions can I download?
Download JPEG, PNG or WebP. Dimensions follow the selected model; fixed 2× or 4× enlargement is not included.
Every photograph has a story worth keeping
Start with one old photo. Take a closer look at what you can bring back into focus.