Loading the comparison…
Glasses
For eyeglasses, review both eyes and frame edges after reducing lens reflections.
Use this presetEnhanceMyPhoto image tools
Choose glasses, flash, product or sun glare. AI estimates a cleaner lighting treatment while you compare the result with your original.
JPG, PNG or WebP · up to 20 MB and 16 MP each
Up to 20 source images. Batch processing uses your existing membership access.
Loading tool configuration…
Review the credit cost before processing. Uploading and browsing presets do not use AI credits.
Ready

 OriginalResult
About this tool
AI glare removal reduces distracting reflections and harsh highlights in a photo. Choose glasses, flash, product or sun presets in Enhance My Photo, then check reconstructed details against the source.
Processed result
Drag each comparison to inspect the edit. Choose a preset to try the same approach with your own photo.
For eyeglasses, review both eyes and frame edges after reducing lens reflections.
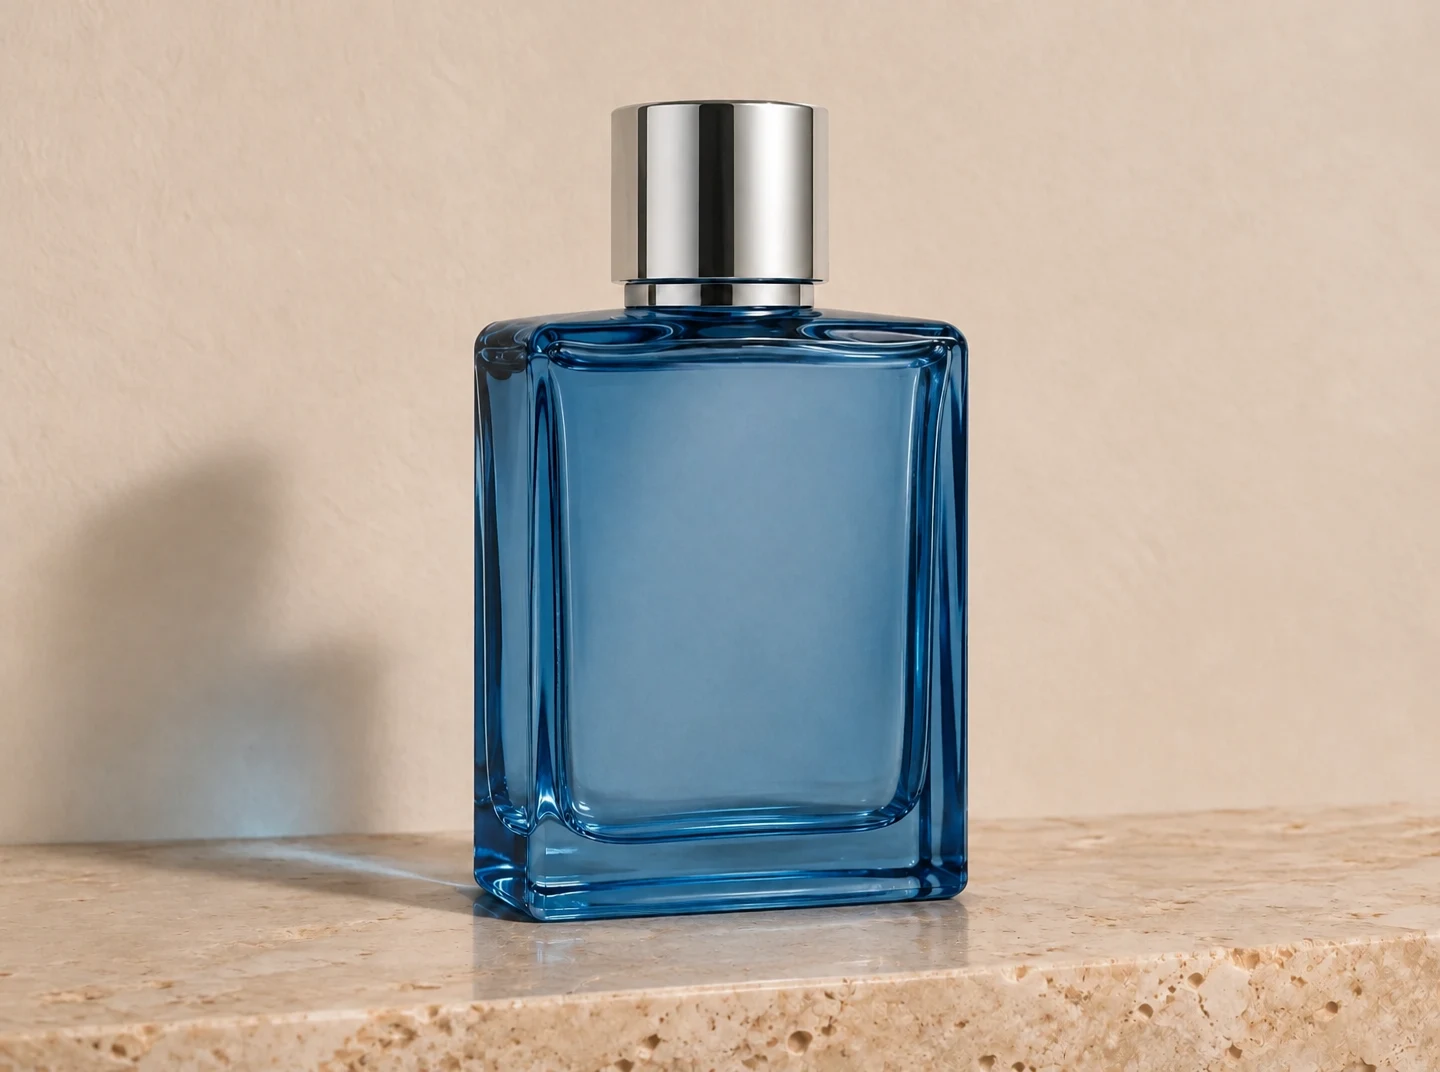
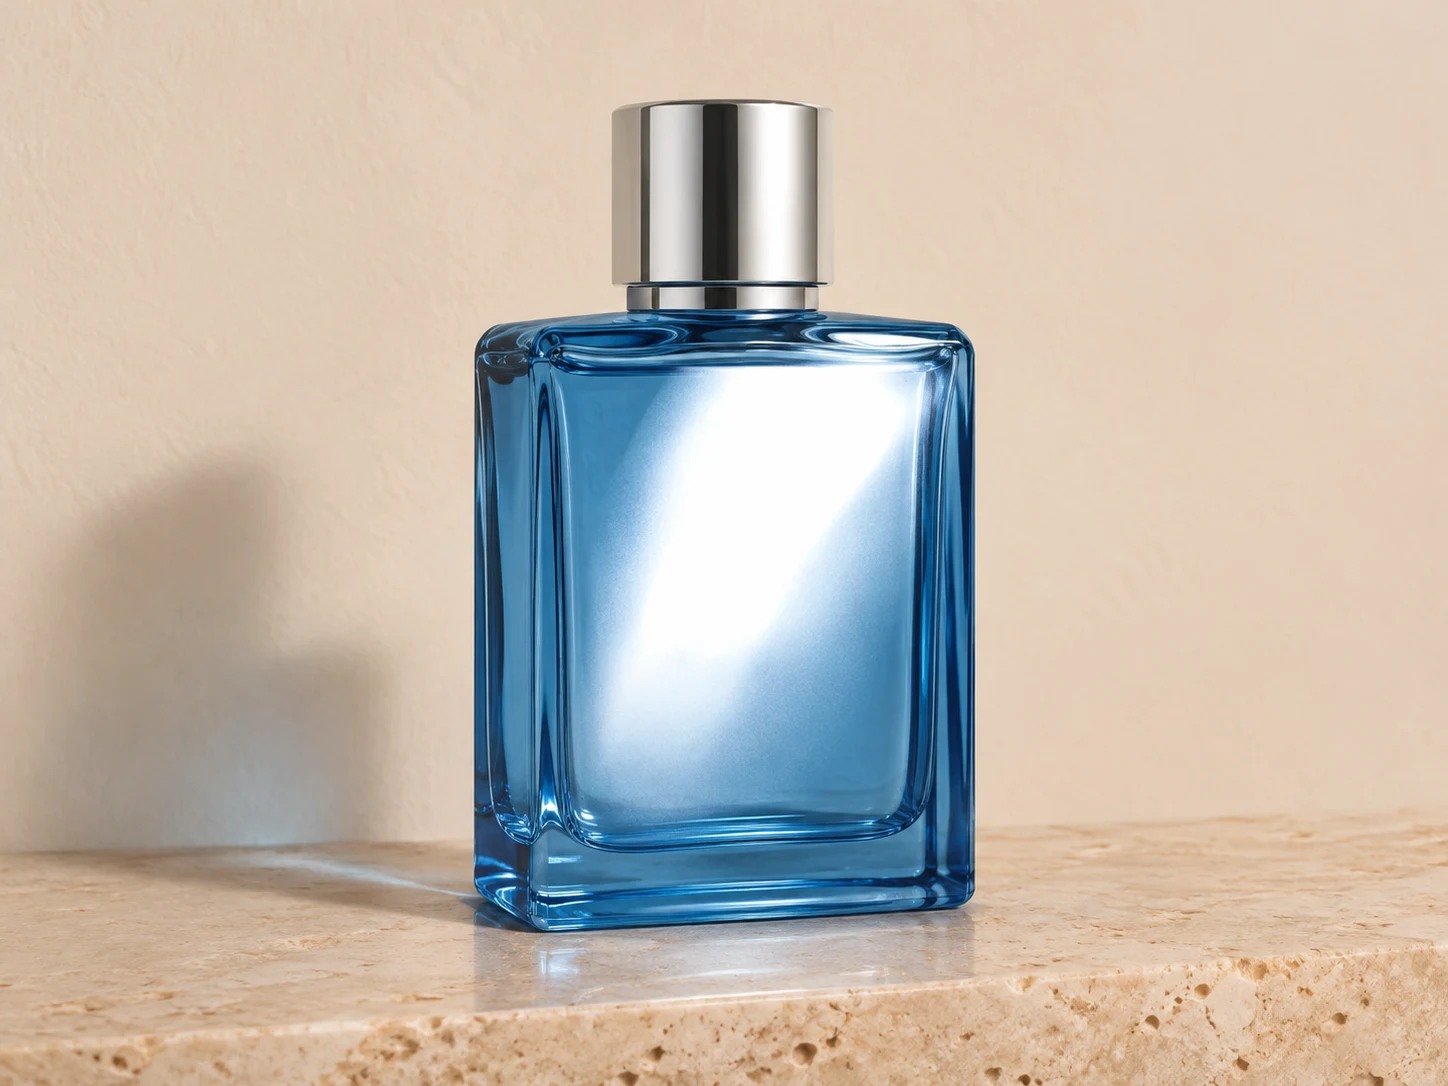
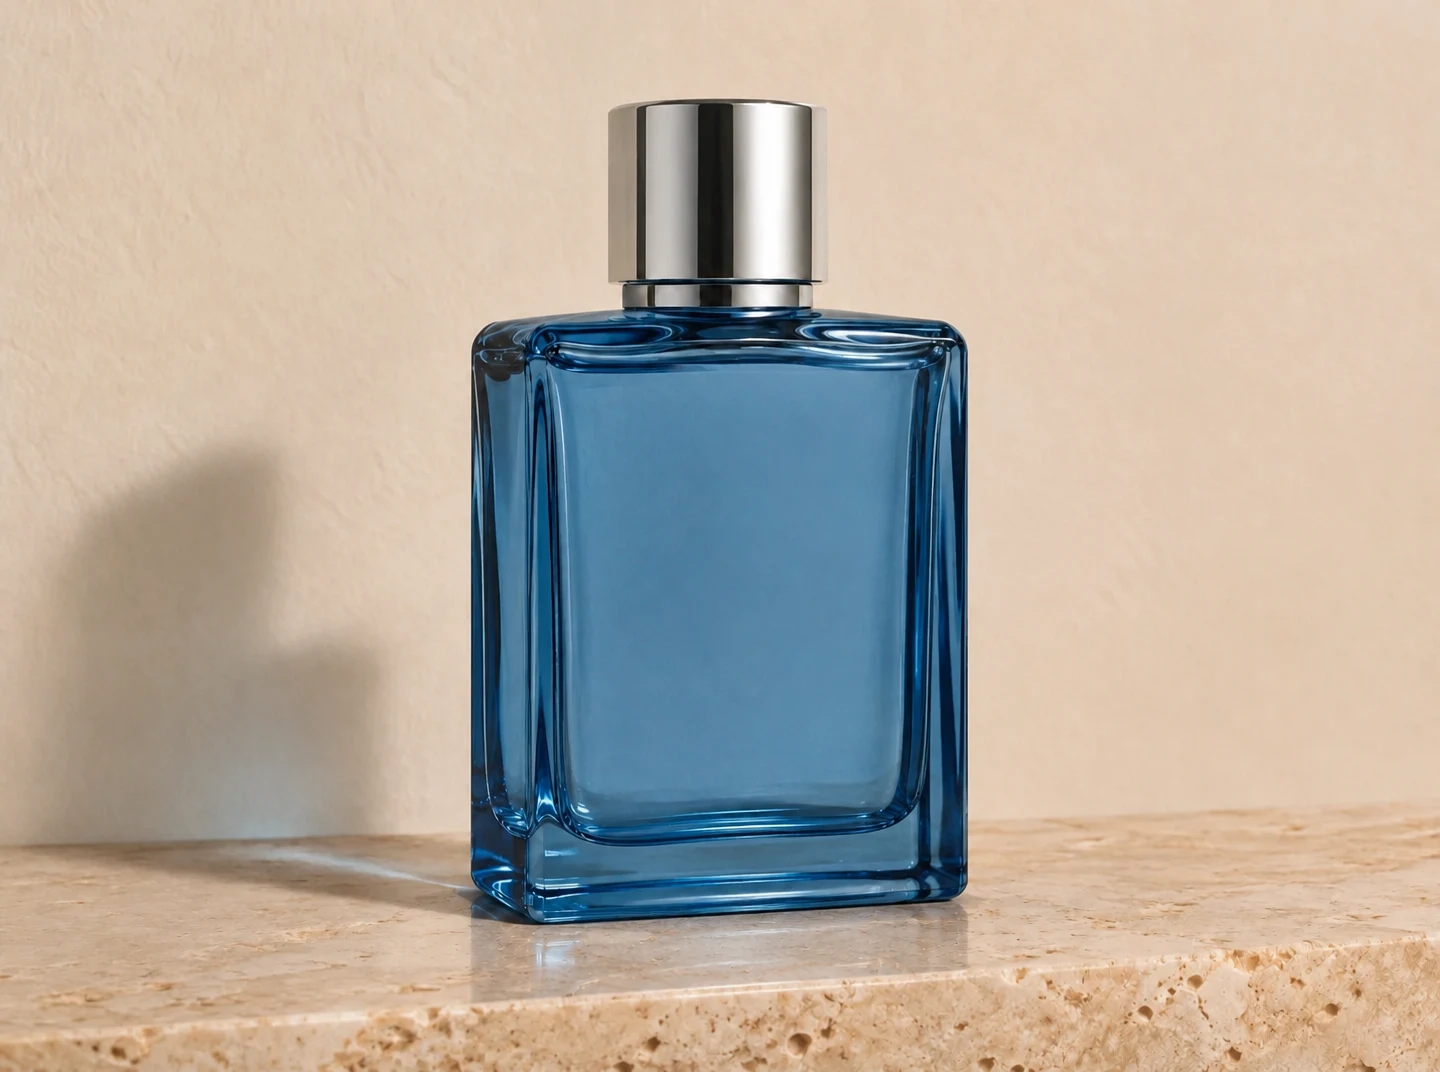
Use this presetFor products and flash spots, inspect material texture, labels and the light direction.
Use this presetFor outdoor glare, compare contrast and skin tones across the whole frame. The result is an edited lighting interpretation.
Use this presetRemove glare
Upload the clearest available original photo.
Select glasses, flash, product or sun and add a short note if the reflection needs clarification.
Review credits, generate and compare the affected area and the rest of the photo before saving.
A focused workflow for your image
Review the credit cost before processing. Uploading and browsing presets do not use AI credits.
A small reflection is easier to evaluate than a completely white region. Blown highlights contain little reliable detail.
For a product label hidden by glare, verify the output against another view of the actual item.
For future photos, change the camera or light angle. A new capture can preserve details that AI has to estimate.
Previews show results made with this tool from our synthetic sample images. A preset fills in settings; it never starts processing or spends credits.
Remove glare
AI estimates what could be behind a reflection. It cannot verify missing eyes, labels or other obscured details. Inspect faces and text carefully and keep the original.
It can reduce lens reflections and estimate the obscured area. Check that eyes, gaze and frame shape still match the person.
AI can generate plausible texture, but cannot verify details lost to overexposure. Compare with another original when accuracy matters.
No. Glare removal targets distracting highlights and reflections. Use the general photo enhancer or image editor for broader lighting adjustments.
Upload a static JPG, PNG or WebP up to 20 MB and 16 megapixels. References have the same limits. Use the best original available.
The server checks the cost before processing. If the quote changes, you must confirm it. Uploading, choosing presets and viewing existing results do not start a paid generation.
Batch access follows your current membership, with up to 20 source images. Every masked edit needs its own saved selection. Failed items can be retried with a new quote.
Download the original result here. Signed in accounts can use history according to their retention policy. Temporary guest results need the active session and expire.
AI can estimate or redraw details. Compare faces, text, product labels and fine texture with your original. Keep the original and review the result before publishing.
YOUR NEXT STEP
Keep the result you like, then choose one focused tool for the next change.
Enhance a portrait while checking eyes, hair and skin against the original. Keep the version that still looks like the person.
Enhance a portraitImprove the source photo before changing its background. Check labels, materials and small product features.
Enhance a product photoReduce grain in dim photos and scans. Check fine texture so skin and fabric still look natural.
AI DenoiseAdd your source, choose the change, and review the credit cost before processing.
Edit your image