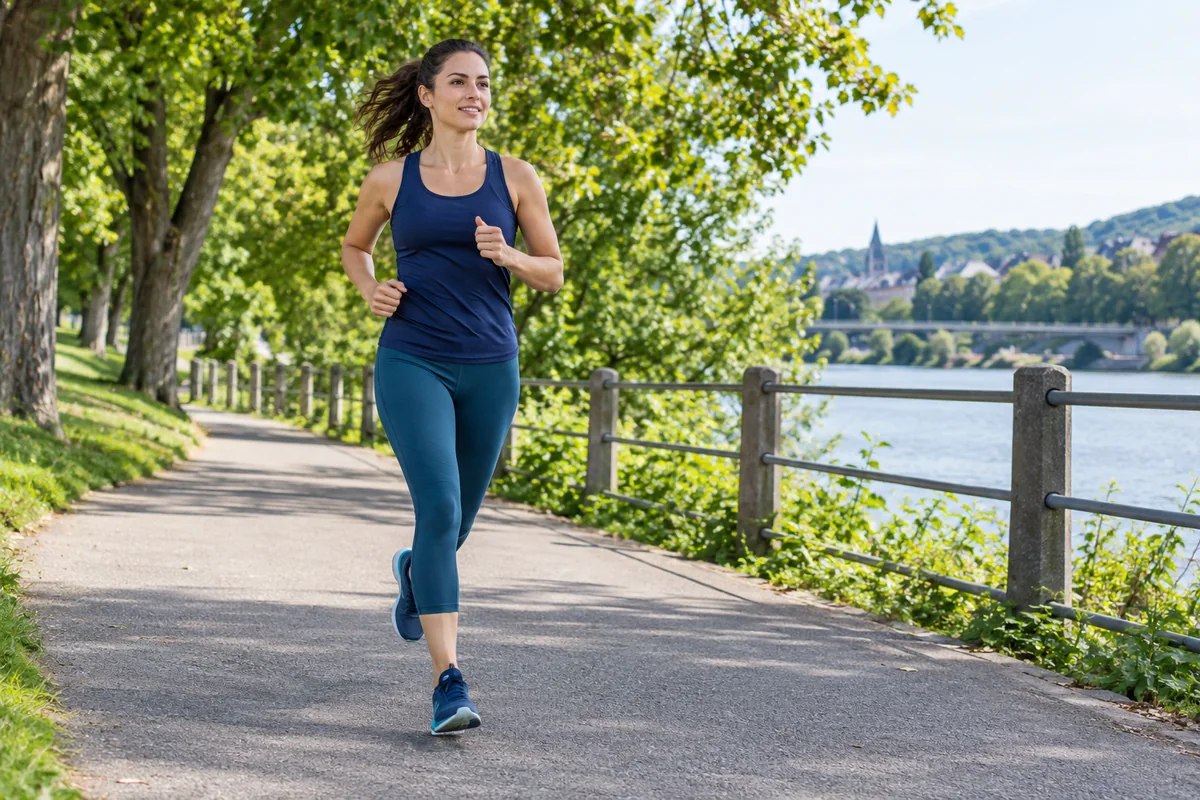
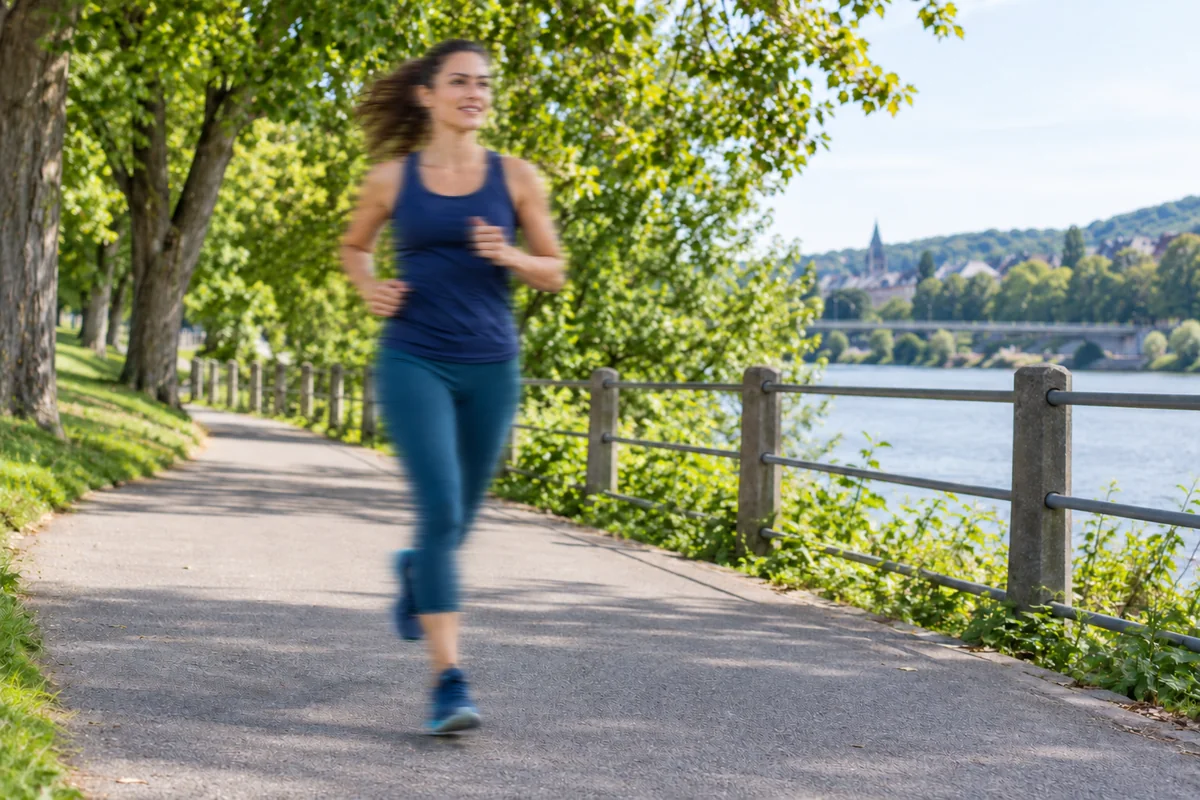
Loading example images…
Motion blur
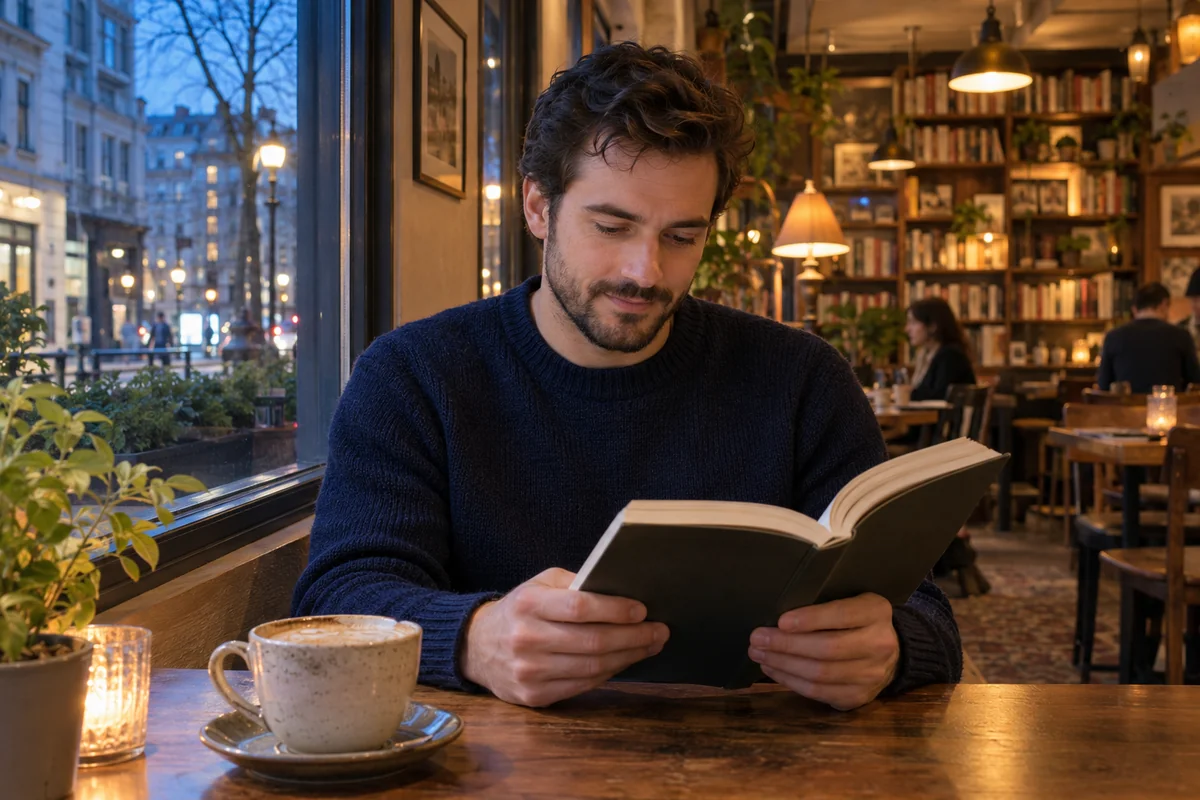
A moving person or pet can leave directional trails. Start with motion mode when the subject is still recognizable.
KEEP THE MOMENT. RECOVER THE DETAIL.
Improve soft focus, mild camera shake and motion blur. Upload a photo, compare the details, and keep the result that works for you.
Best for photos that still have recognizable edges and detail.

 BeforeAfter
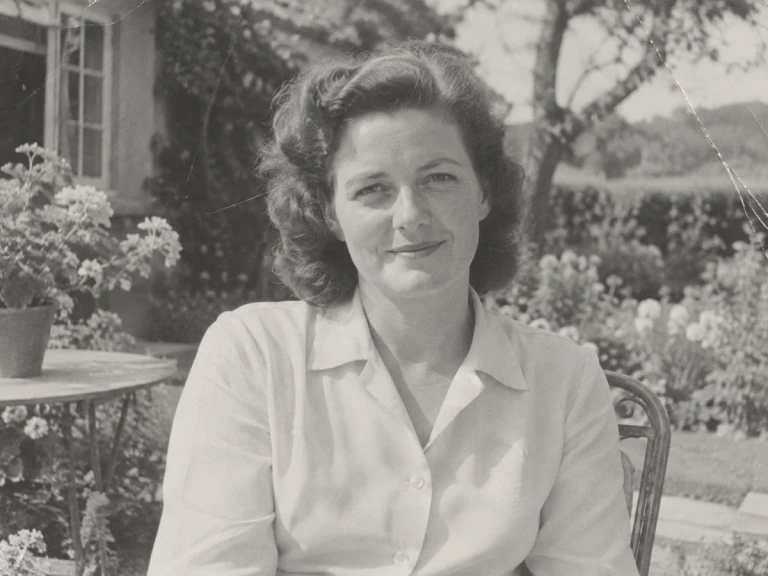
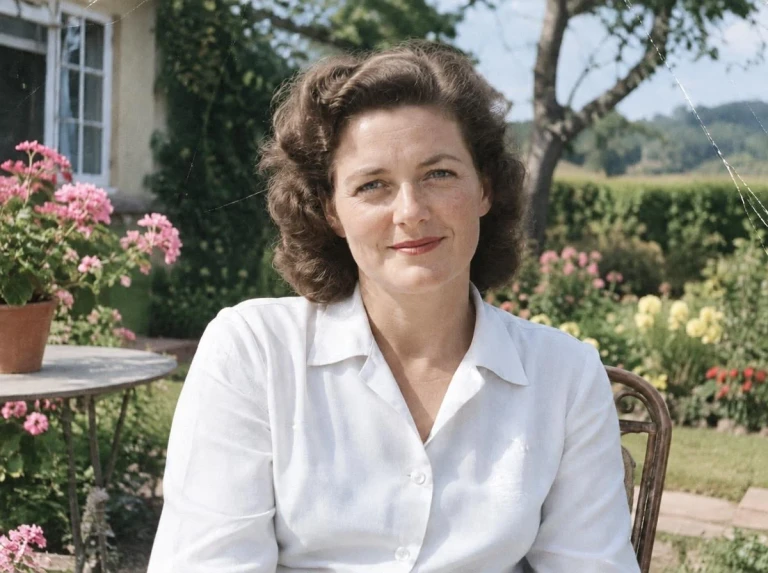
Drag the divider to explore our processed example.Synthetic sample images processed with our tools. Results vary by image; check details at full size.
Drop a photo here or choose a file
JPG, PNG or WebP · up to 20 MiB and 16 MP
Selecting an image does not spend credits.
UNDERSTAND THE BLUR
Move each slider to see how different kinds of blur affect a photo.
A moving person or pet can leave directional trails. Start with motion mode when the subject is still recognizable.
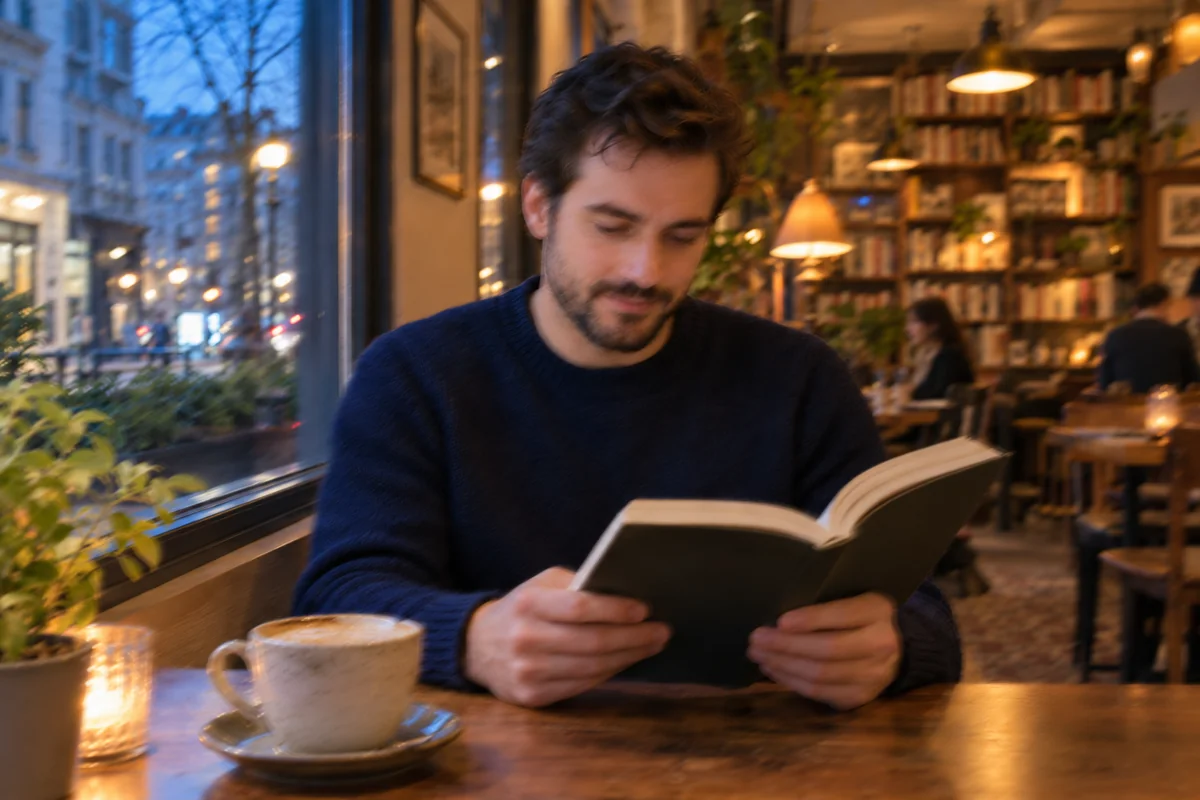
A handheld photo can lose definition across the frame. Review fine edges when trying standard or motion mode.
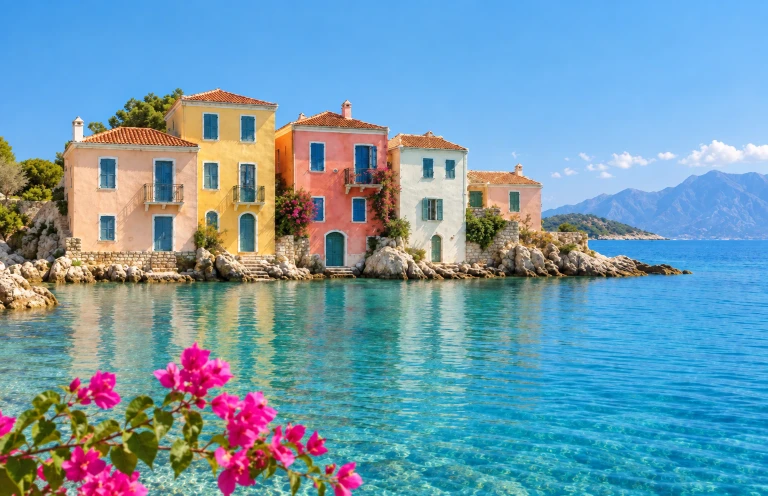
Slightly missed focus can soften eyes, hair and objects. Try lens mode to improve the remaining detail.
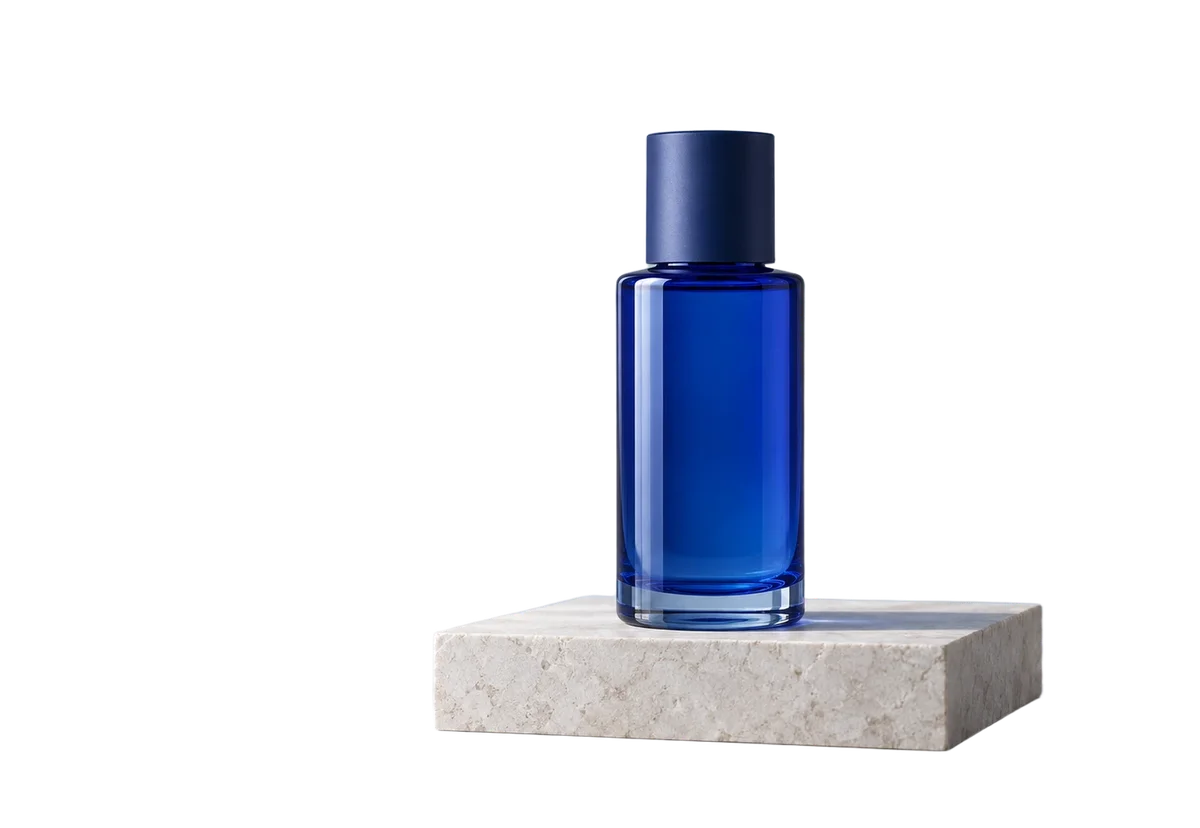
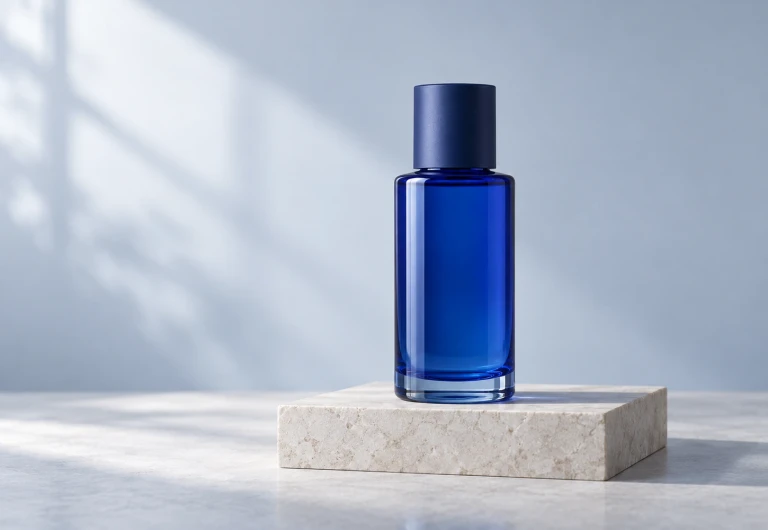
AI-generated illustrations of blur types, not measured results from our tool.
A CLOSER LOOK
The expression, the texture, the little things you wanted to remember. Explore where a clearer photo can make a difference.
Unblur my photoThe everyday-photo example was processed with our tool. Other scenes illustrate possible uses; individual results vary.
Give a softly captured photo another look. Compare the face, hair and background before saving.
Inspect the edges and distant details in your travel photos before posting or making an album.
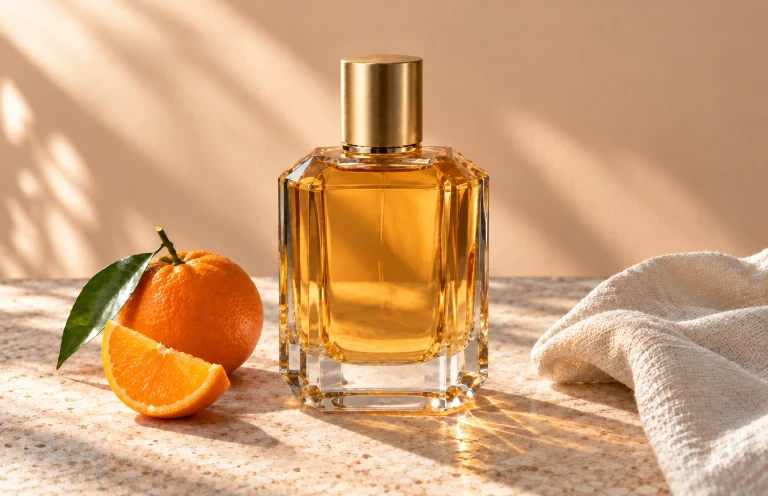
Review the outline and surface texture of an object without losing sight of its natural appearance.
Look closely at eyes, hair and skin. Choose a result that keeps the person recognizable and natural.
The amount of detail left in the original matters more than the file size alone.
A little more clarity before you share, present or save a memory.
Review people, pets and moments caught on the move.
Improve soft detail while checking that faces still look natural.
Inspect outlines, materials and details before publishing.
Review softness before moving on to damage repair or colorization.
A BETTER STARTING POINT
Give the tool the best source you have, then judge the result against the original.
Choose the camera file or original scan in JPG, PNG or WebP. Keep an untouched copy.
Messaging apps and repeated saves can remove detail. Find the original before trying to improve a small copy.
Start with standard mode, use lens for soft focus, or motion for directional blur. Review the displayed credit cost before processing.
Inspect at normal size and zoom in. Watch for changed features, halos or unnatural textures.
No installation. The choices you need, right in your browser.
Step 1
Choose or drag in one JPG, PNG or WebP. Up to 20 MiB and 16 MP, subject to the current tool limits.
Step 2
Select standard, lens or motion mode. Check the displayed cost, then start AI processing.
Step 3
Slide between the original and result. Export as PNG, JPG or WebP, or continue in the editor.
Check the result first, then choose only the edits your photo needs.
Check faces, text, edges and textures. AI can change details, especially when the source is very blurry.
If grain remains distracting, try the dedicated denoise tool and inspect whether fine texture is preserved.
Explore AI DenoiseOpen the result in the editor to crop, add text or continue editing. AI edits have their own credit cost.
Explore the image editorDownload as PNG, JPG or WebP. Keep the original as well so you can compare or edit again later.
MORE WAYS TO CARE FOR YOUR PHOTOS
Explore other photo tools when your image needs more than deblurring.
Scene illustration
Processed with our tool
Processed with our tool
Processed with our tool
Try photos with soft focus, mild camera shake or modest motion blur. Results depend on the detail remaining in the original. Use the comparison view to check the result rather than assuming every photo can be recovered.
Severe blur may have removed the information needed for an accurate result. AI can produce plausible new detail, so it cannot guarantee the original face, text or texture will be recovered.
Upload one JPG, PNG or WebP at a time, up to 20 MiB and 16 million pixels. The current tool configuration may impose a lower limit. Use an original file instead of a compressed screenshot when possible.
Standard is a starting point for general softness. Lens targets missed focus; motion targets directional blur. Choose according to your photo and compare the result, especially around faces and small details.
Selecting a photo, viewing the examples and loading the sample do not use AI credits. AI processing uses the displayed credit amount. Available trial credits depend on your account and current configuration.
Processing time depends on the image, the configured model and service load. The workspace shows the task status. Avoid repeatedly submitting the same photo while a task is still running.
Photos remain private. Guest work belongs to a temporary session; signed-in tasks follow the account retention period. Download any result you want to keep before that period ends.
After a successful task, compare the original and result, then download in PNG, JPG or WebP. You can also open the result in the image editor to continue working on it.
Selecting an image does not spend credits.