
Soft focus or camera movement?
Use deblurring when edges look smeared. If you see grain instead, start with noise reduction.
Unblur a photoTry AI enhancement for selfies, profile photos and everyday portraits with mild softness. The Portrait scene is selected for you. Compare facial details with your original, keep the version that looks right, and download the result before leaving a visitor session.

 Original photoEnhanced photo
Illustrative result. These examples show the intended effect, not a guarantee of how your photo will look.


Use the largest original you have, with the face in focus as much as possible and enough light to see both eyes and the skin. A photo copied through messaging apps or captured as a screenshot may have lost detail before it reaches the tool. Prefer the camera file over that smaller copy. Soft eyelashes or slightly indistinct hair are worth testing; a tiny face with no visible features gives AI much less reliable information. Keep an untouched original for comparison.
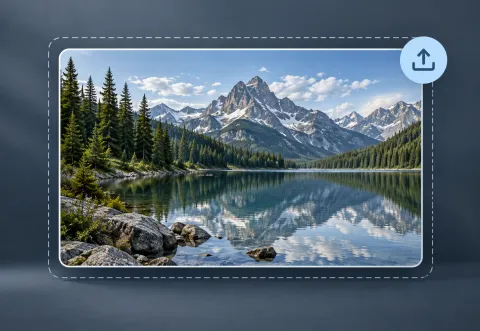
Keep Portrait selected, choose an available quality level and select JPG, PNG or WebP output before choosing your file. The uploader accepts JPEG, PNG and WebP files up to 20 MiB each. Single-photo processing can start after selection and any required verification, so check the settings first.
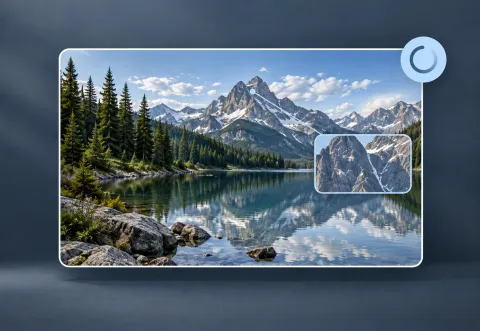
Use the credit cost shown for the selected quality; availability and free allowances can vary. If the interface asks you to confirm an updated quote, review it before continuing. Keep the processing view open and follow its status. Choosing a different scene or quality does not guarantee a more faithful face.
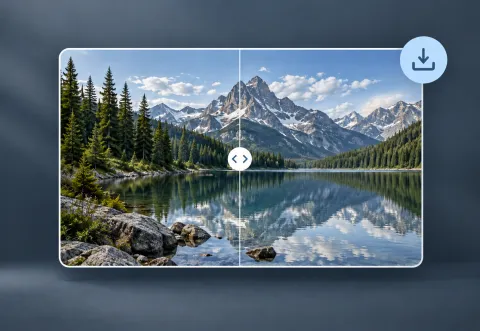
Move the before-and-after comparison across the face. Check the result at its full pixel size and at the size where you plan to use it. Download the version you want to keep, and retain the original separately. Visitors should save the result before refreshing or closing the page.
Judge the result against the source, not just against an idea of a sharper photo. Check the distance between the eyes, the mouth shape, the jawline and distinctive marks. A convincing new eyelash or tooth can still be wrong. If a recognizable feature has changed, keep the original rather than treating the enhanced version as a faithful record.
Severe motion blur, clipped highlights, deep shadows and faces that occupy very few pixels may not improve reliably. Enhancement can invent plausible texture where information is missing. It cannot identify a person or prove what their face originally looked like. Reprocessing the same result repeatedly can compound changes; a better source photo is often more useful than another pass.
Check the face at the small size used by your profile or team page, as well as up close. Eyes and the mouth should remain readable without hard outlines. Leave room around the head for the destination’s crop. This workflow improves an existing photo; it does not promise a new pose or a studio-quality headshot.
Look for cleaner visible detail while retaining natural skin and familiar expressions. Existing beauty filters or strong phone sharpening can leave little natural texture to work with. Compare highlights on the forehead and cheeks, and reject a result that turns skin waxy or exaggerates pores.
Review every face separately. People farther from the camera have fewer pixels, so one face may improve while another changes. Check glasses, smiles and overlapping hair. If you want to preserve a family memory, the least altered version may be more useful than the one that appears sharpest.
Compare iris shapes, eyelids and the direction of the gaze. Check that glasses keep their original rims and that reflections have not become new facial details. Around a smile, look for invented teeth, merged edges or a changed lip line.
Look at cheeks, the forehead and shadowed areas for uneven smoothing or artificial texture. Freckles, moles and wrinkles are useful comparison points. Do not assume that a mark added or removed by AI reflects the person’s actual appearance.
Inspect the hairline, eyebrows, ears and jaw against the background. Repeated strands, bright halos and overly crisp edges can make a portrait look edited. Zoom back out after checking details; an improvement should also make sense at the final display size.
If contours are doubled by camera movement or the whole face is softly out of focus, compare the Unblur Image workflow. Start from the same original so the difference is meaningful. Severe blur is still a limitation; running several tools in sequence is not a reliable way to recover a true face.
Colored speckles and grain in an indoor or evening portrait are different from blur. Try AI Denoise when those distractions dominate. Inspect hair and skin afterward because reducing noise can also smooth texture. Choose the result that balances the two rather than assuming the cleanest image is best.
A sharper-looking portrait is not the same as an exact enlargement. This workflow does not promise a fixed 2× or 4× size. Check the downloaded pixel dimensions against your destination. Enlarging or cropping cannot establish facial detail that was absent from the source.
YOUR NEXT STEP
Keep the result you like, then choose one focused tool for the next change.
Use deblurring when edges look smeared. If you see grain instead, start with noise reduction.
Unblur a photoReduce grain in dim photos and scans. Check fine texture so skin and fabric still look natural.
Reduce image noiseRemove the background and export transparent PNG for a layout, product listing or collage. Check hair and glass edges.
Remove the backgroundNew here? Follow the upload-to-download guide or browse all photo tools.
Yes, you can try a portrait containing more than one person. Judge each face independently; small or partially hidden faces may not improve as well as the main subject. There is no guarantee that all faces will receive the same level of improvement.
Usually start with the original framing so the face, hair and surrounding context remain visible. Crop only when it helps the intended composition, and keep the source file. A tight crop does not add pixels or make missing eyes, hair or facial features recoverable.
No exact identity preservation is guaranteed. AI may alter facial proportions, expressions or skin detail even when the result looks plausible. Compare with the original and avoid using generated details as evidence of someone’s appearance. Keep the original if an important feature changes.
The available visitor experience is subject to usage limits and service availability. Signed-in accounts can use eligible free credits. Pro quality and batch processing require a signed-in account with an active paid subscription or available credit pack credits; the run also needs enough credits for the displayed cost.
JPG is a common choice for photo sharing. PNG avoids adding JPEG compression during format export; WebP is useful where the destination accepts it. The tool supports these three output formats, but the AI result determines the pixel dimensions. Changing format does not restore detail or guarantee a smaller file.
For a processing error, read the displayed message and check the file, access status and credit balance before retrying. If processing succeeds but the face changes, return to the original and review the source quality or another available setting. Do not keep processing an inaccurate result. If download fails, use the available retry before leaving the result view.