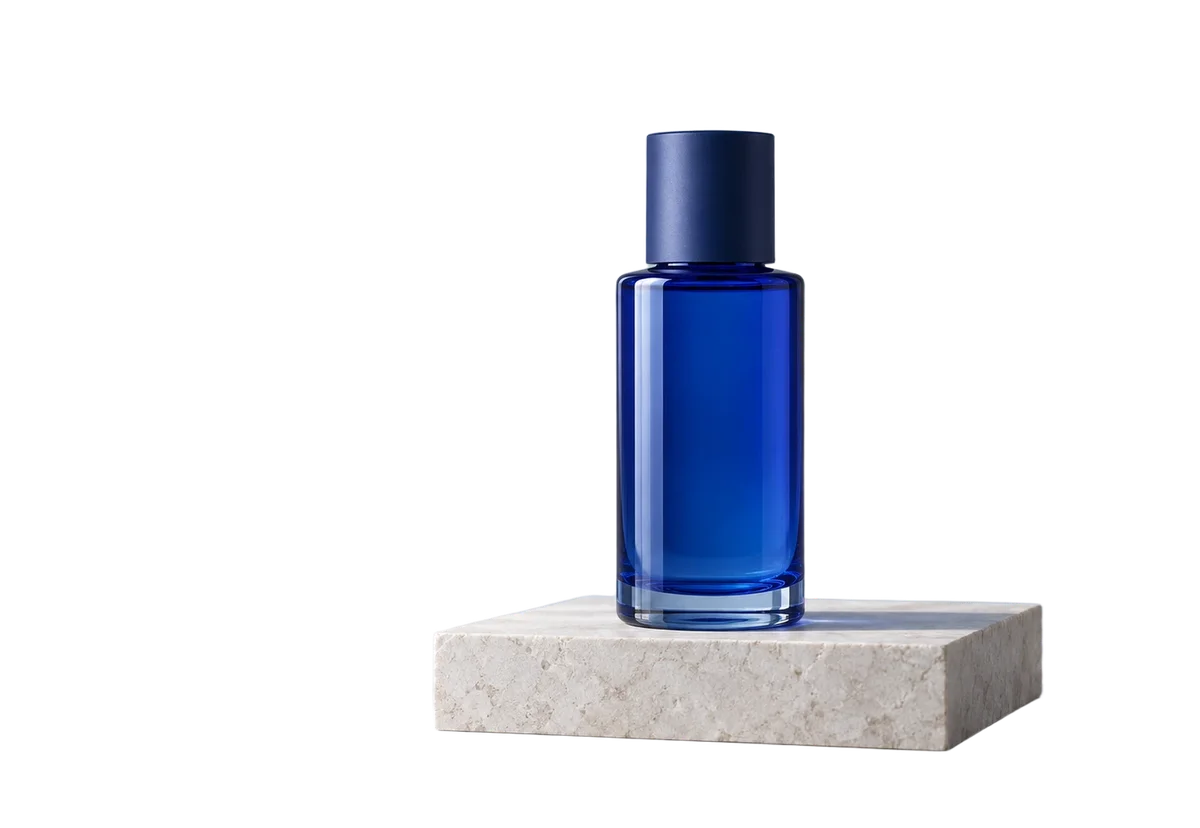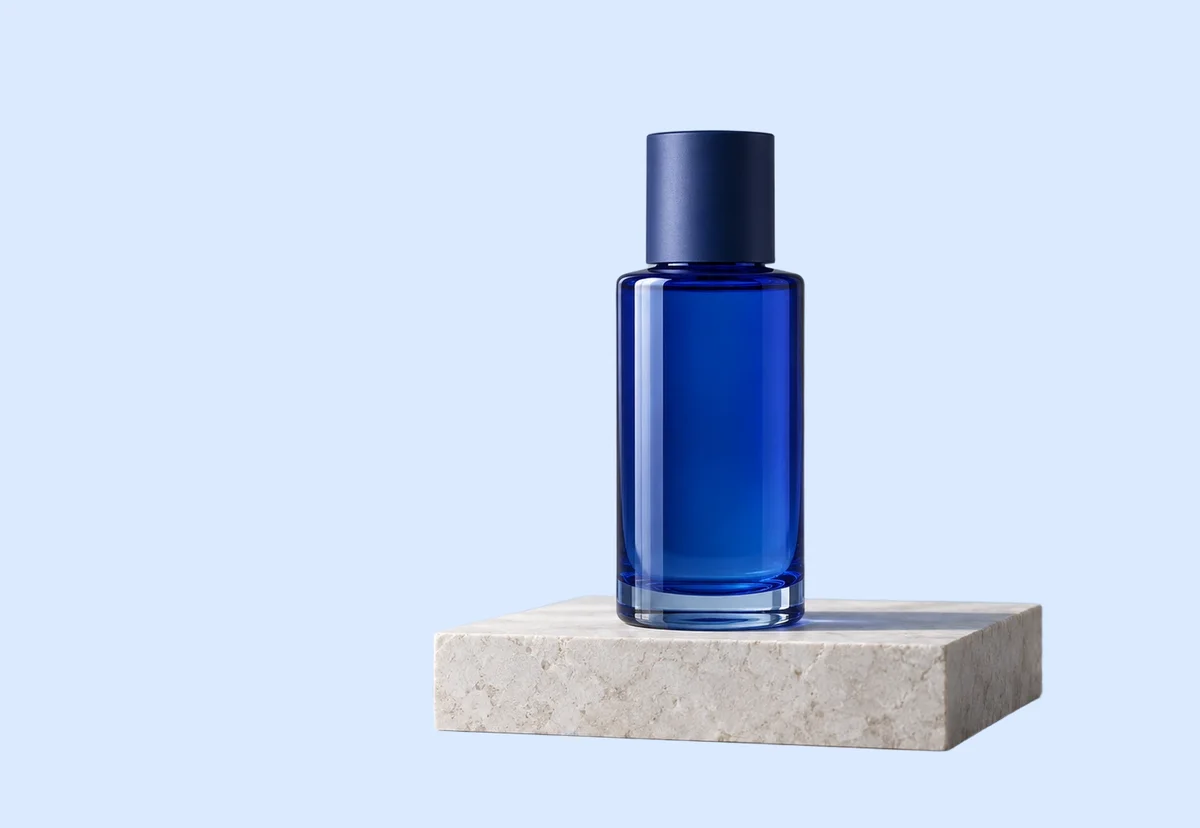
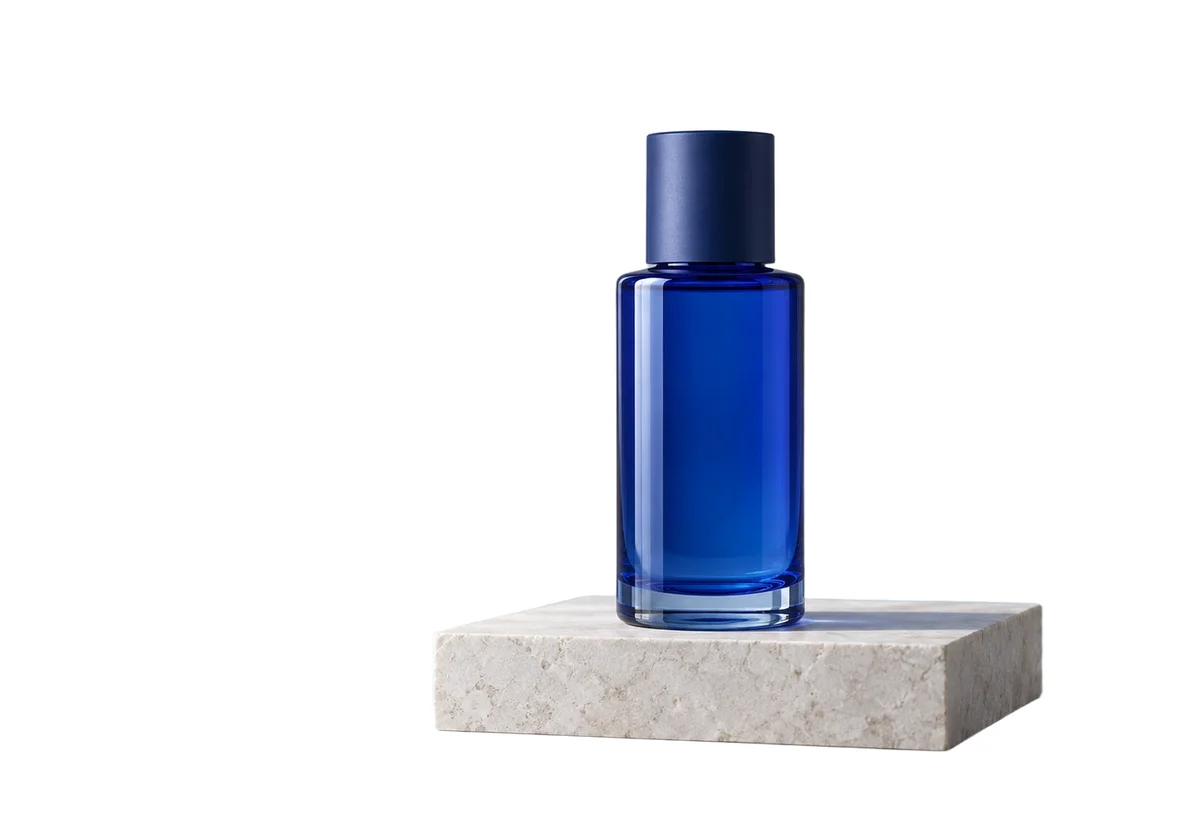
Make a clean product listing
Place your cutout on pure white. Review the outline and crop before adding it to your catalog.
Create a white backgroundStart with the product scene to improve clarity in existing product shots. Try free within visitor limits and verify colors, labels and materials before using the result.

 Original photoEnhanced photo
Illustrative result. These examples show the intended effect, not a guarantee of how your photo will look.


Try product shots with soft outlines or indistinct surface texture. Use a well-lit original with the whole product visible. This workflow enhances an existing image; it does not generate a new product or background.
Upload a JPEG, PNG or WEBP. The relevant scene is already selected; you can change it before starting.
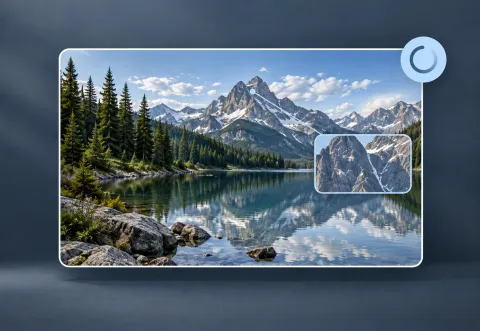
Try the available free experience, or sign in to choose other options. Check the displayed credit quote before confirming a paid run.
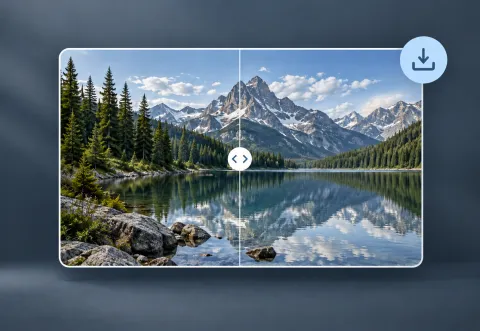
Inspect the result beside the original, then download it. Visitors should download before leaving or refreshing the page.
Compare labels, logos, stitching, material texture and color with the original. Review at the intended display size, and keep the original if enhancement changes the product’s appearance.
AI can change small text, colors or surface patterns. It does not guarantee exact product accuracy, recover missing label text, replace a background or produce a fixed enlargement ratio.
YOUR NEXT STEP
Keep the result you like, then choose one focused tool for the next change.
Place your cutout on pure white. Review the outline and crop before adding it to your catalog.
Create a white backgroundRemove the background and export transparent PNG for a layout, product listing or collage. Check hair and glass edges.
Remove the backgroundChoose an exact solid background color after isolating the subject. Use AI editing for a whole new scene.
Change the background colorNew here? Follow the upload-to-download guide or browse all photo tools.
Start with a clear, well-lit image of the actual product. Mildly soft edges and visible textures are worth testing. Heavy blur, clipped highlights and tiny unreadable labels may not improve.
Not necessarily. AI can alter lettering, colors and material details. Verify the result against the original before using it in a listing; keep the original if an important feature changes.
Yes, subject to visitor usage limits and current availability. Sign in for daily free-account credits and to save new enhancements. Pro quality and batch processing require a signed-in account with available credits.
The tool supports JPEG, PNG and WEBP output. Dimensions depend on the AI result; fixed 2× or 4× enlargement is not promised. Check the result and download before leaving a visitor session.