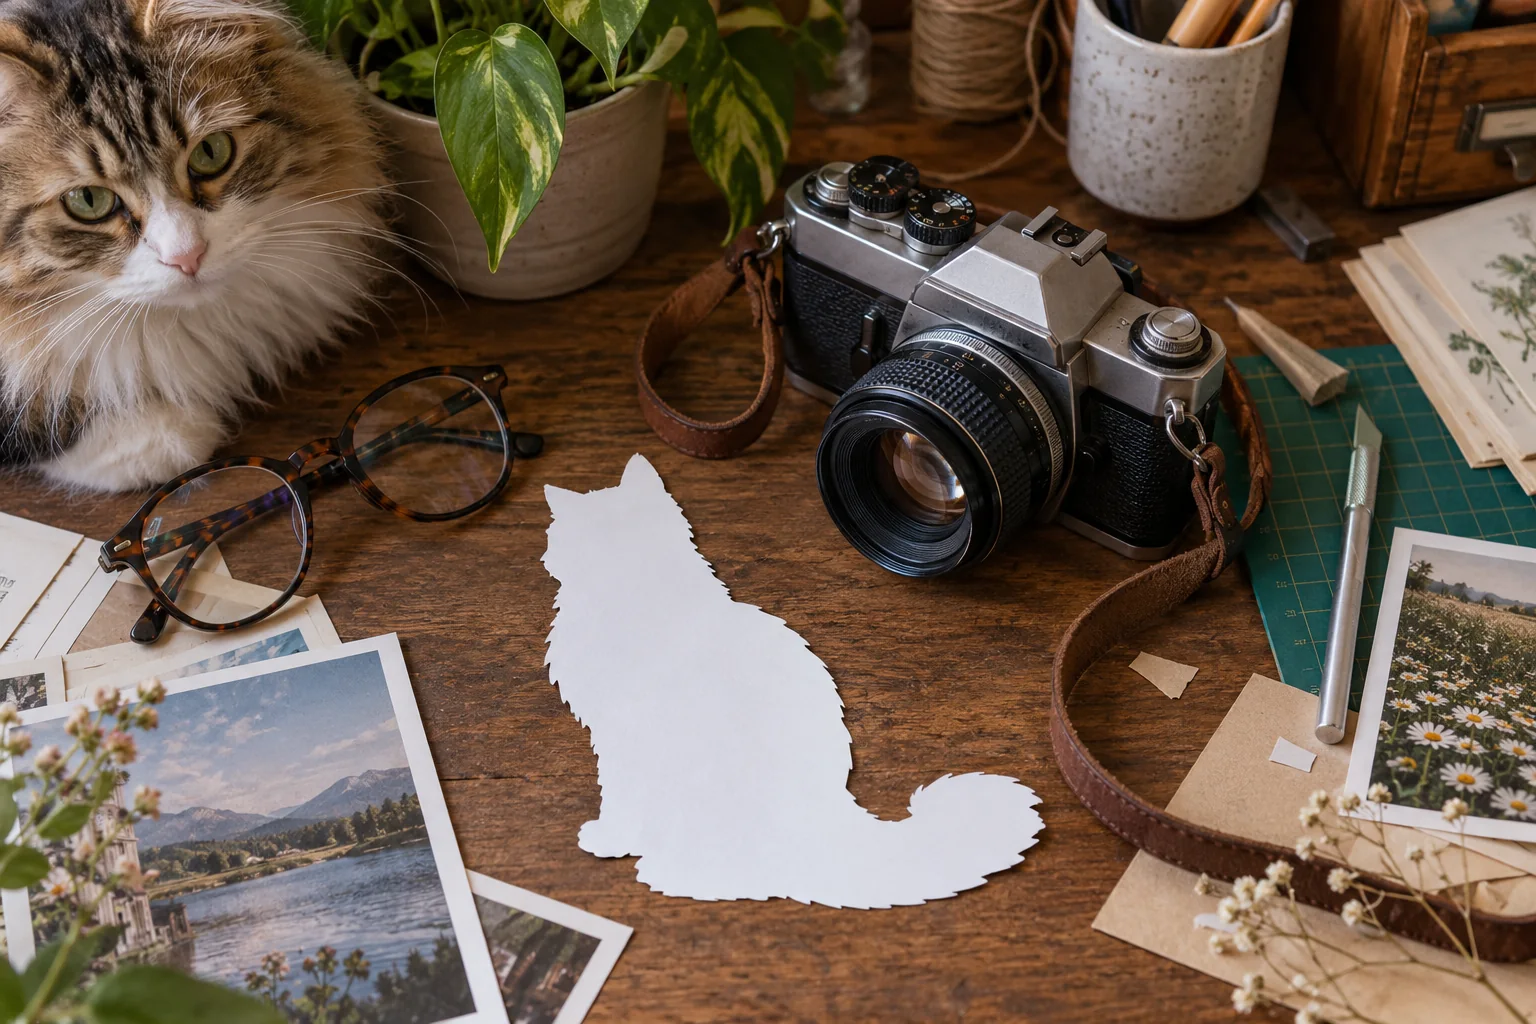

A product photo needs to do more than look polished. It should help a shopper understand the item: its shape, material, finish and visible details. An enhancement that makes a canvas bag look like leather or changes a label can be visually appealing and still be the wrong image for a listing.
Use product photo enhancement to compare a clearer version of a recognizable original, then review it against the actual item. This guide focuses on preserving useful product information while improving presentation. It also explains when a better source, a background change or a new photo is the more sensible next step.
Choose a source that already explains the item
Start with an original image where the product is in focus, fully visible and separated enough from its surroundings to inspect. Even light helps show materials. Strong reflections, deep shadows and heavy compression leave important areas ambiguous.
Photograph the details that matter separately if you can. A main view may show the overall silhouette but not stitching, texture or a small control. A close detail image gives shoppers useful information and gives you a reference when reviewing an enhanced version.
Keep the source file and identify the product variant it represents. Similar items in different colors or sizes can be easy to confuse during editing. A simple filename or folder structure is more reliable than trying to remember which photo belongs to each listing.
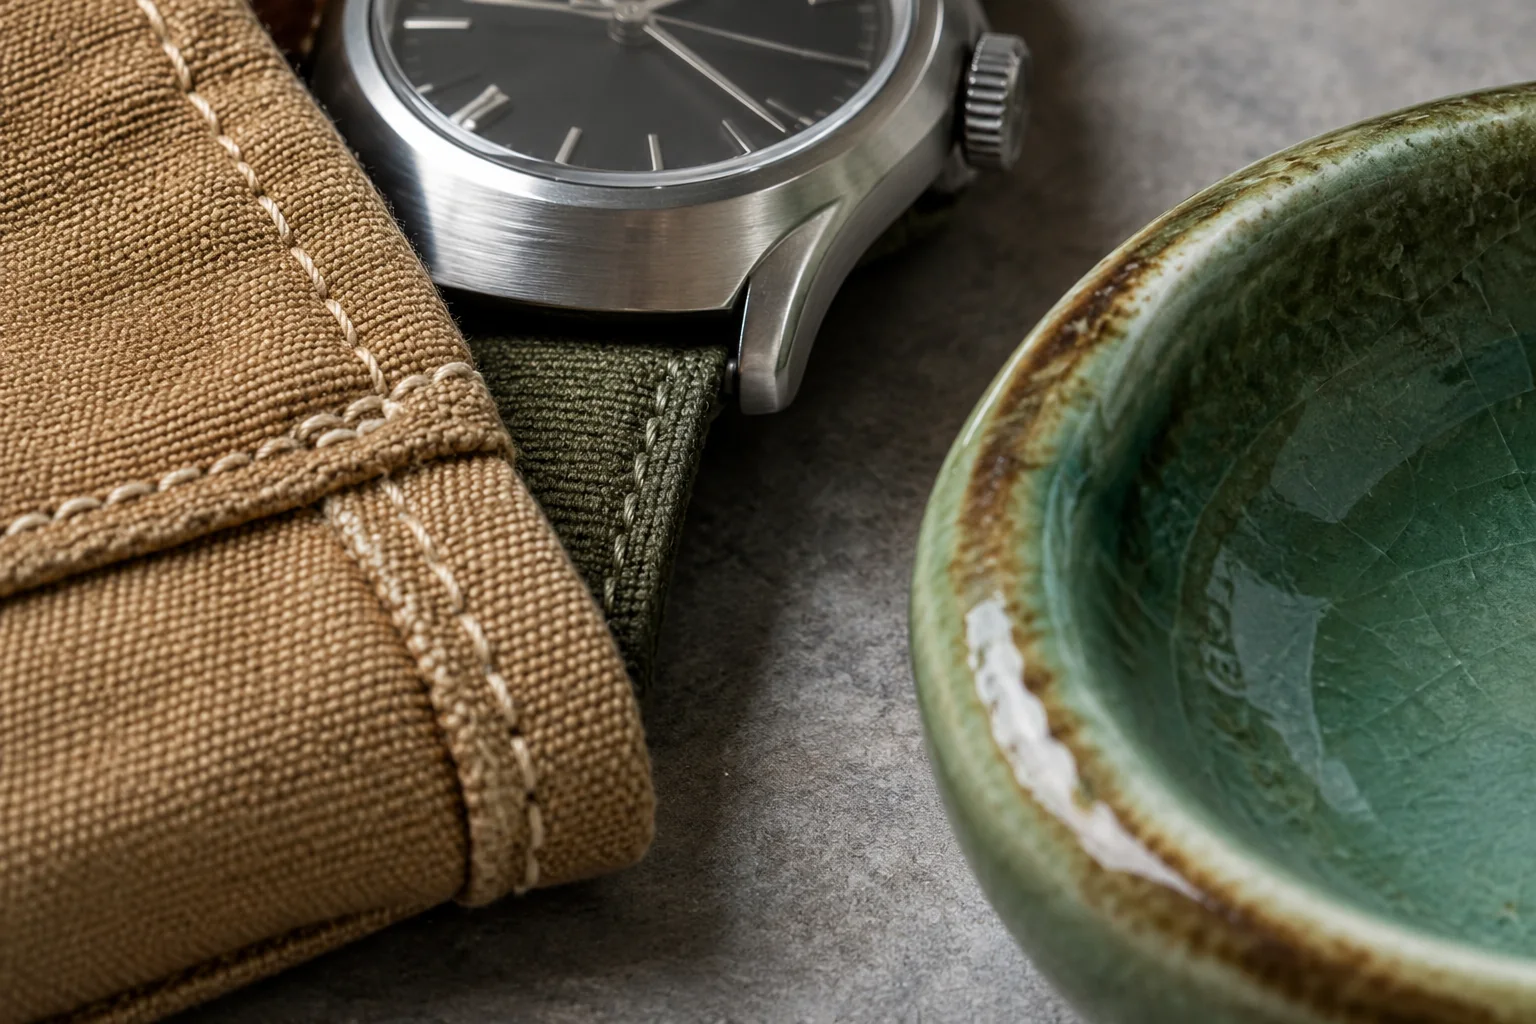 Editorial illustration: material texture should still describe the real item after editing.
Decide what should improve and what must stay accurate
Write a brief acceptance checklist before processing. It might say: “Clearer fabric texture; same seam placement, strap width, color and label.” This is more useful than a general wish for a premium-looking result, because you can inspect each part afterward.
Different products need different checks. For jewelry, review the number of stones, clasp and metal tone. For clothing, check seams, buttons and fabric pattern. For a handmade ceramic object, irregular glaze and shape may be part of its character rather than flaws to smooth away.
If the only problem is a busy background, use background removal first as a separate option. If the item already looks clear, there may be no reason to enhance its details at all. The right workflow is the one that solves a visible problem.
Use the product enhancer with the current settings
Open the product enhancement page and review its quality, output-format and credit information before selecting your file. This workflow begins the upload and processing sequence after selection and the required access checks. Follow any confirmation shown by the page, and avoid submitting several copies while the first task is still running.
Choose an initial output that fits the intended use. A larger file may help with display flexibility, but it does not prove that reconstructed details are accurate. Keep your reference photo available throughout the review.
When the result is ready, compare it with the source at the same apparent size. Check the whole product before zooming into labels and surface texture. Stronger contrast can make a photo feel sharper even when the outline or finish has changed.
Review shape, texture and color as separate questions
| Check | What should remain consistent | Examples of a problematic change |
|---|---|---|
| Silhouette | Proportions and major curves | A wider handle or a reshaped toe on a shoe |
| Construction | Seams, joints, buttons and openings | Missing stitches or an extra fastener |
| Material | The photographed surface type | Canvas turning smooth or matte metal becoming glossy |
| Color | The same product variant under plausible light | A neutral fabric gaining a strong color cast |
| Markings | Labels, symbols and visible wording | Rewritten letters, changed numbers or invented logos |
For color, compare under a consistent viewing setup. Different screens and ambient light can change perception. Do not promise that a generated image establishes an exact physical color match. Use the product itself and a clear source as your reference, especially for items where shade is important.
 Review each kind of product information separately rather than relying on an overall impression of sharpness.
Pay extra attention to words and small repeating details
Tiny label text may become cleaner-looking while changing its meaning. Compare letters, numbers and units to the original or the physical package. A plausible word is not a reliable recovery of an unreadable label.
The same issue can appear in repeated patterns: knit stitches, perforations, mesh, watch markings or a row of buttons. Look for a pattern that repeats too uniformly, ends abruptly or changes count. These errors can be hidden by a good-looking overall thumbnail.
If important information cannot be checked, take a new detail photo when possible. For a repeatable review process, use the Product Photo Enhancer. Enhancement is a presentation step, not a substitute for knowing what the item actually looks like.
 Site illustration: check your own product's design and markings against its source rather than treating a polished example as a guarantee.
Finish the background after accepting the subject
Once the subject is acceptable, decide where it will be used. A plain product listing image, a store banner and a lifestyle concept have different visual goals. Check the current image requirements of the destination instead of assuming every marketplace wants the same format or composition.
For a simple presentation, use the white background tool and inspect retained edges. For a coordinated brand palette, the background color changer lets you choose a solid color from an accepted cutout. A reusable transparent version can be helpful for several layouts.
If you create an imagined setting with the AI image editor, keep it separate from your straightforward product documentation. Review scale, reflections and any props. The final image should not imply accessories or features that are not actually included.
Export and review the listing-sized image
Download the accepted version and check the actual file dimensions, background and format. Keep an original and an accepted master, then create destination-specific copies. Repeatedly downloading a compressed listing preview and editing that copy makes later work harder.
Inspect the image after uploading it to the store as well. The page may resize or compress the file. Check both the thumbnail and any zoomed product view, especially text and material details. If a caption describes a visible feature, make sure the image supports that description.
Product enhancement questions
Can enhancement make every product photo suitable for selling?
No. Poor focus, hidden details or the wrong product variant may require a new photo. Use enhancement when there is enough source information to compare the result meaningfully.
Should I enhance all catalog images with the same setting?
A consistent review standard helps, but different materials may respond differently. Test representative items and inspect each result instead of assuming one setting is right for every surface.
What if the background improves but the product changes?
Reject that version for a faithful listing and try a narrower background workflow from the original. A creative scene is not worth losing the item's identifying details.
What should I do after the enhancement looks good?
Choose the background, crop and export needed by the destination. The Product Photo Enhancer explains that sequence, including the final checks after upload.