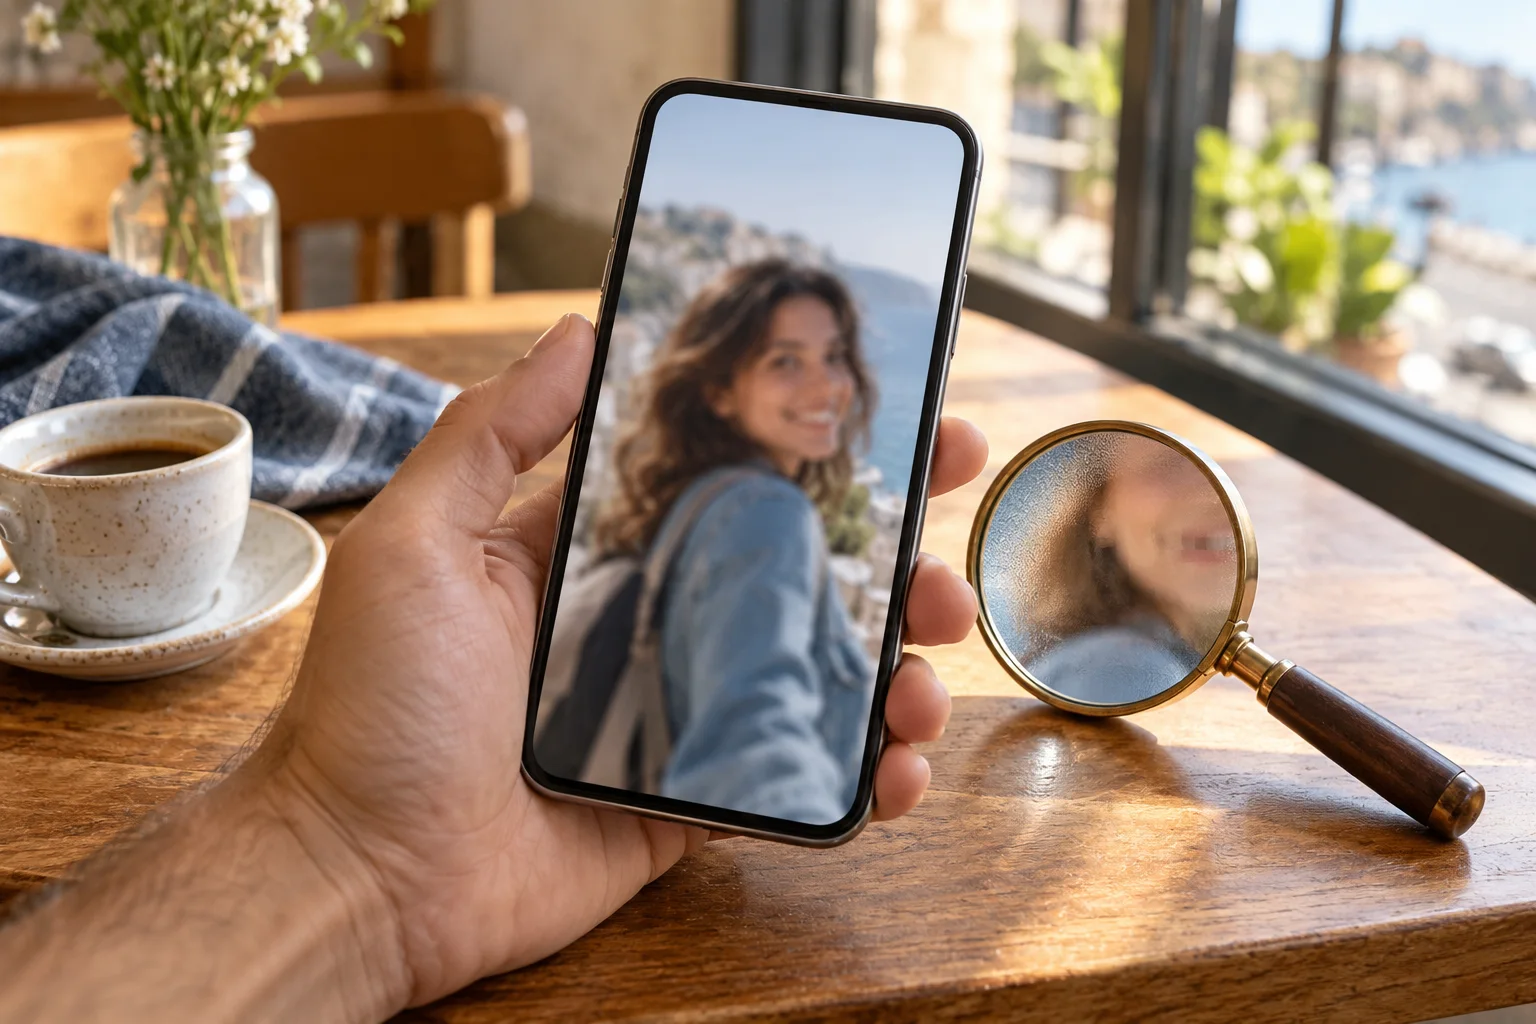
A portrait can be slightly soft without needing a new face. The expression, smile and small asymmetries may be exactly why you like it. When you enhance a portrait, the useful goal is clearer presentation while keeping those recognizable features—not simply the crispest possible eyelashes.
Start with the best original you have, use a portrait-focused enhancement, and compare the face as carefully as the overall image. This guide explains how to prepare a source, choose an initial output and decide whether the result belongs in your album, profile or project.
First decide whether enhancement is the right fix
Look at the photograph before choosing a tool. If the face is recognizable but mildly soft, portrait enhancement is a reasonable comparison. If the main problem is a poor crop, reframe it. If the background is distracting while the face is already clear, consider a background change without regenerating the person.
Grain, missed focus and compression can occur together, but they are not interchangeable. A low-light portrait with visible speckles may benefit from AI denoise. A directional streak across the entire head suggests motion blur. Use the Unblur Image to identify what you actually see.
You do not need to apply every tool. Choose one clear objective for the first attempt, such as making a soft face easier to view in a small family album image. That gives you a sensible way to accept or reject the result.
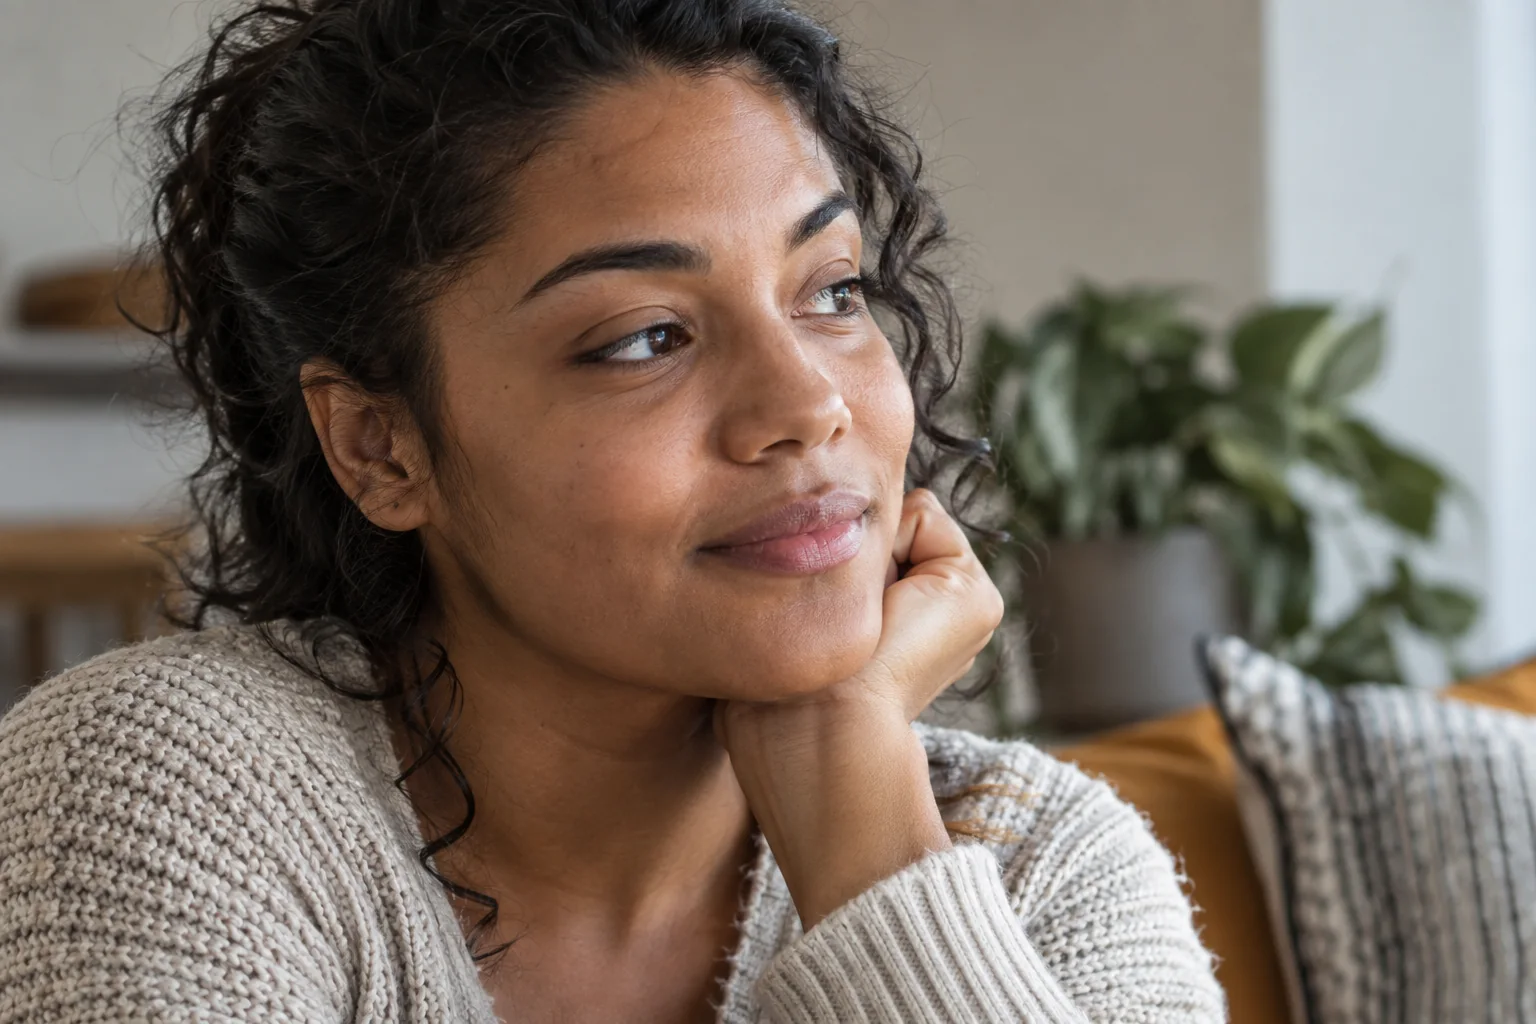 Editorial illustration: useful detail includes real texture and individual features, not just sharp outlines.
Choose the strongest source, not the largest-looking preview
Find the original photo in your camera roll or image archive. A picture copied from a messaging preview may already have lost detail. A screenshot of a social post can also include another round of resizing and compression.
If you have several frames, compare the eyes and expression before editing. A frame with slightly less flattering composition but better focus can be easier to crop than a severely blurred favorite is to reconstruct. Keep both options until you decide.
Do not crop tightly around the face just to make it larger in the upload preview. Retaining some hair, shoulders and surrounding light gives the image context. You can make a final crop after checking the enhanced version. Preserve the original file under its own name so you can always compare the result against an untouched source.
Set up the portrait page before selecting your file
Open the portrait enhancer and review the currently available quality and output-format choices. On this enhancement workflow, selecting a supported file starts the upload and processing sequence once the required checks are complete. Set the options you want before choosing the photo, and read the current credit information shown by the page.
The interface may ask you to sign in, verify access or confirm a quoted operation, depending on the current account and workflow. Follow that displayed step rather than assuming every page uses the same two-click sequence. Wait for the existing task to finish before submitting another attempt.
For an initial comparison, choose an output appropriate for the photo's destination. A higher-quality setting is something to evaluate; it is not a guarantee of more faithful facial details. Check the result itself rather than treating a tier name as the final judgment.
Compare the whole person before inspecting tiny details
First view the original and result at similar sizes. Does the person look like the same person? Check head shape, expression, the direction of the gaze and the relationship between the face and body. An image can feel more polished while subtly changing these relationships.
Then examine a few important regions. Use the same regions in both versions so that you are comparing like with like. Avoid judging one image as a small thumbnail and the other at an extreme zoom.
| Region | What to compare | A reason to reconsider the result |
|---|---|---|
| Eyes | Gaze, eyelids and relative shape | One eye changes shape or looks in a new direction |
| Mouth | Expression, lip line and visible teeth | A different smile or invented tooth boundaries |
| Skin | Gradual light transitions and identifiable marks | Waxy patches or new speckled texture |
| Hair | Hairline, parting and larger locks | Repeating strands or a changed hairline |
| Accessories | Glasses, earrings and small details | Distorted frames or missing pieces |
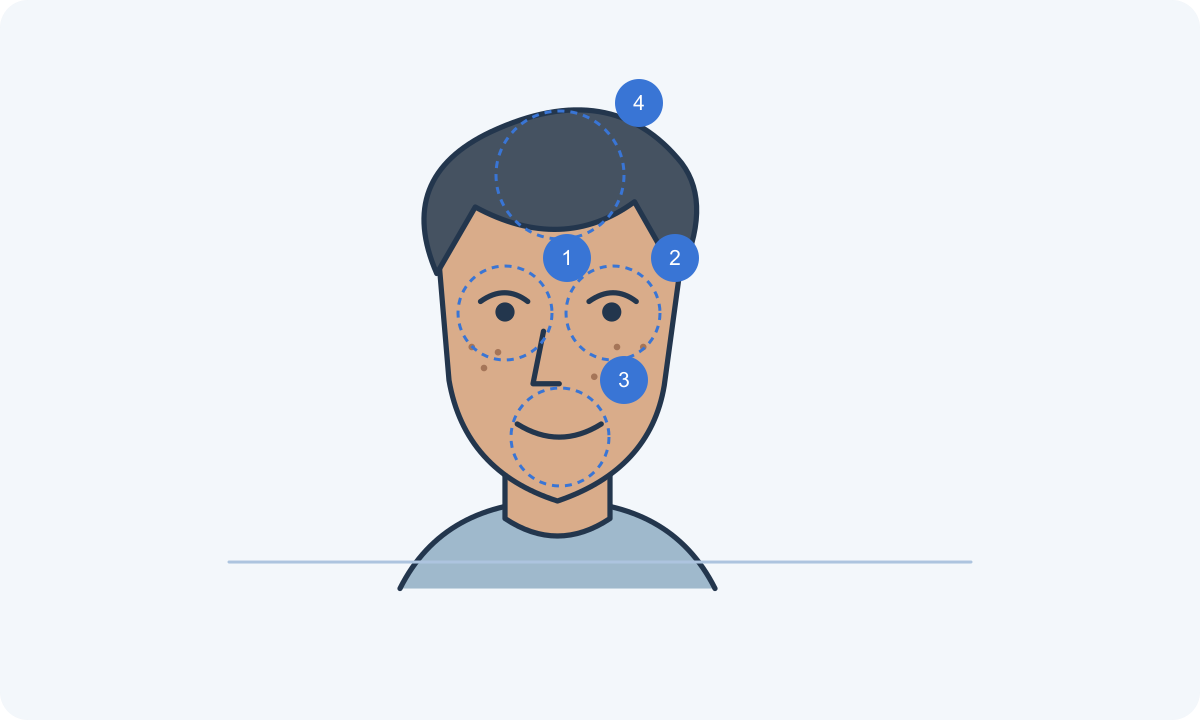 Check recognition first, then inspect a few high-value details at a consistent size.
Keep texture in proportion to the picture
Natural skin is not a perfectly smooth surface, but adding visible pores does not automatically make an image accurate. In a small source photo, some fine texture was never recorded clearly enough to verify. Look for believable transitions and consistency with the source rather than rewarding any newly sharp texture.
Hair should have a coherent direction and shape. A result that turns every strand into a separate bright line may look impressive close up and brittle at the final display size. Glasses and jewelry are useful cross-checks because their shapes should remain stable even when the face becomes clearer.
Check the rest of the photograph as well. The face should not look sharply pasted onto soft clothing or an unnaturally smooth neck. A balanced portrait often reads better than one region enhanced far beyond the rest.
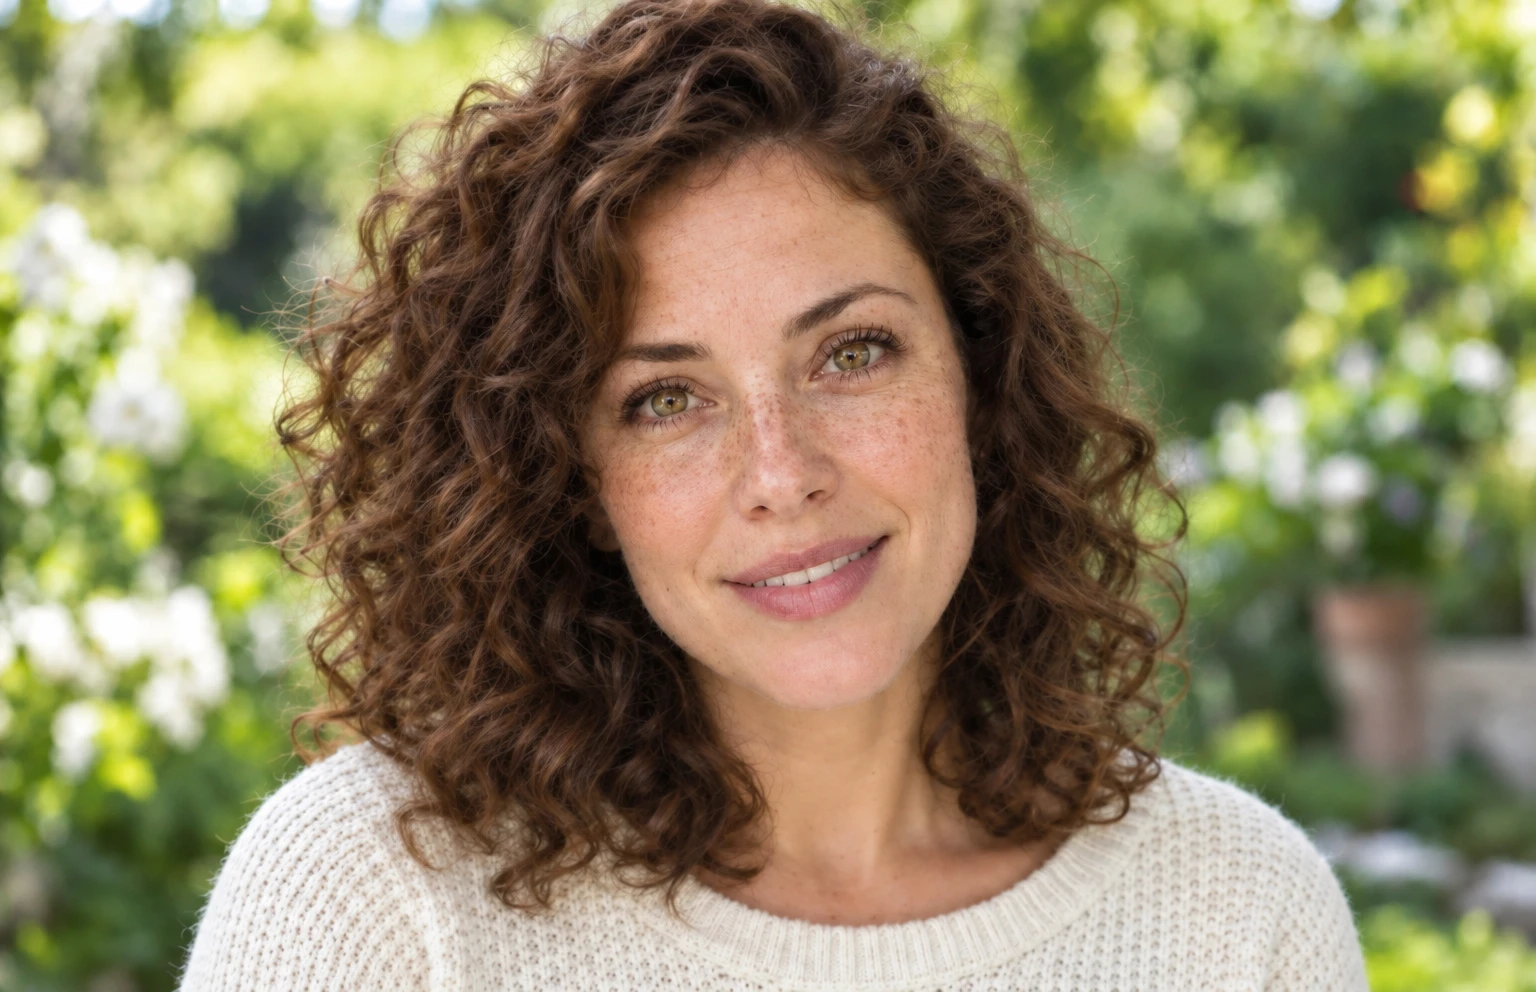 Site illustration for portrait review. Your result depends on the original; inspect your own facial details rather than expecting this appearance.
What to do when the result feels overprocessed
Return to the original and identify the change that bothered you. If the face changed, do not keep processing that altered face in hopes that later passes will restore it. Compare a different available setting, a stronger source or another frame.
If the issue is only crop or placement, use image cropping rather than another generative pass. If you need a different scene or lighting concept, the AI image editor can explore that separately, but review it as a creative edit. Keeping enhancement and restyling as distinct decisions makes the result easier to evaluate.
For specific warning signs, see Portrait Enhancer. It explains how to inspect eyes, hair and skin without mistaking added contrast for reliable detail.
Download for the intended use
Open the downloaded file and inspect its actual dimensions and format. For a profile picture, check the final small display and any circular crop. For a print, ask the print service about the dimensions and file requirements before deciding how large to produce it.
Keep the source, accepted edit and final cropped export as separate files. This avoids making a compressed upload your only copy. Save important images before the retention deadline shown by the service.
Common portrait questions
Can AI guarantee that a face will remain identical?
No. Enhancement can reconstruct plausible detail and may alter features. Compare the person's appearance and keep only a result that is appropriate for your use.
Should I enhance a portrait that is already sharp?
Only if there is a specific problem to solve. If the original already works, cropping or leaving it unchanged may be the better choice.
What about a group photo?
Check each face separately, including small faces near the edges. One convincing face does not establish that everyone in the image was handled well.
How do I turn the accepted portrait into a profile image?
Use a modest crop, leave room for the platform's framing and review the small version. The Portrait Enhancer walks through those decisions.