
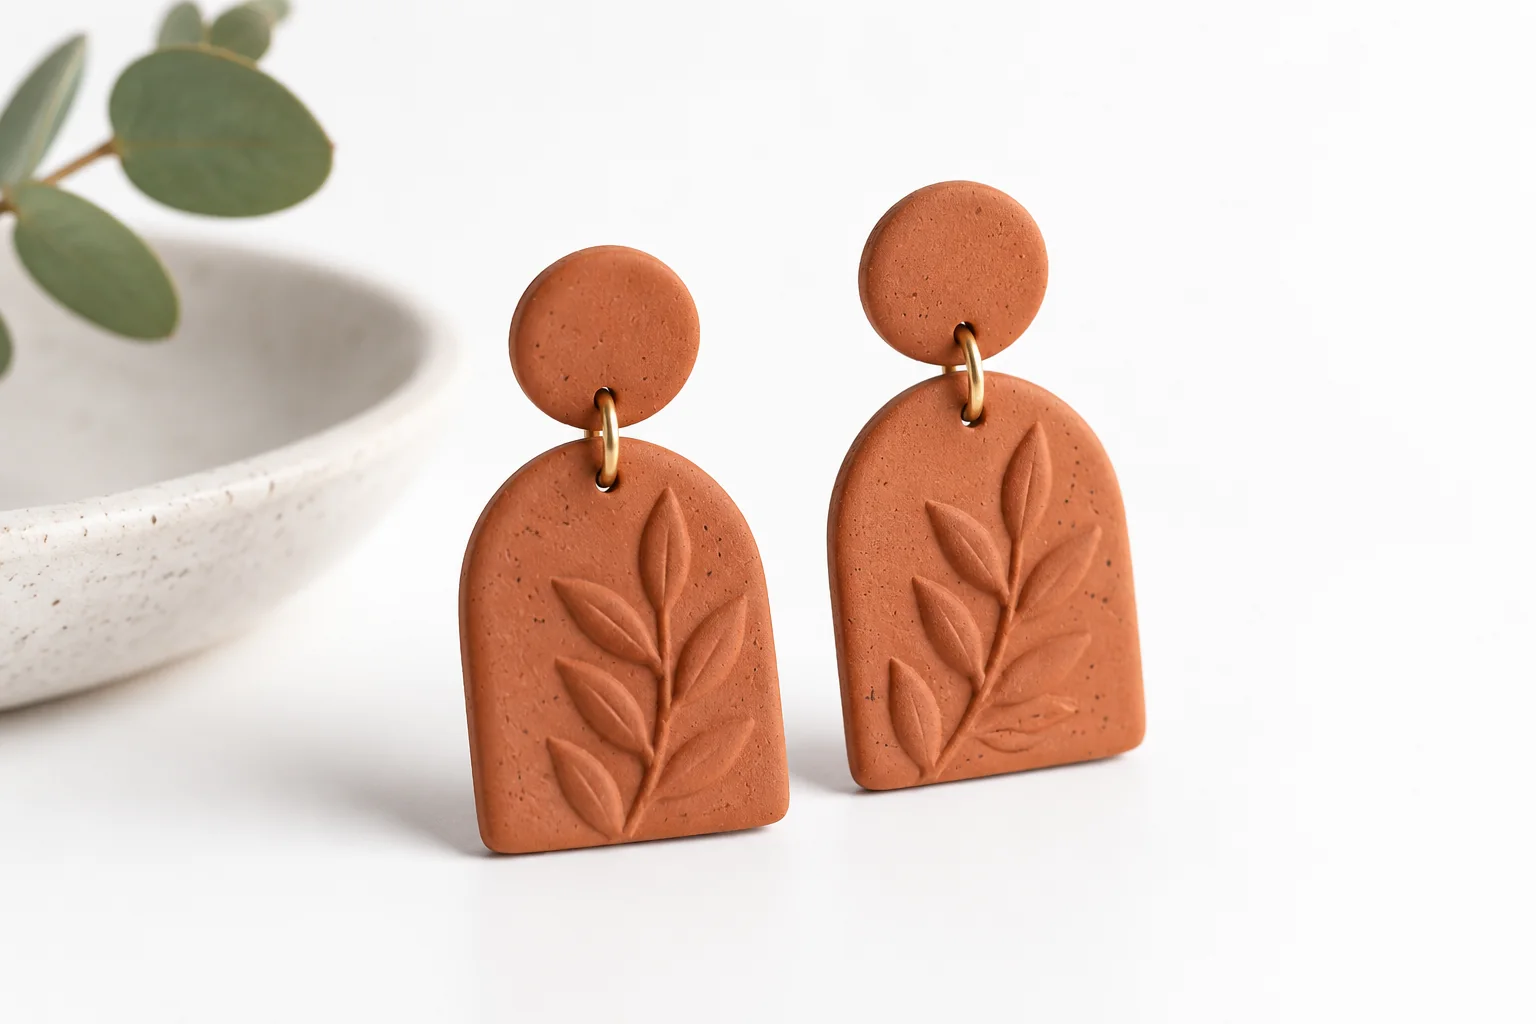
A plain white background can make a product easier to place in a catalog or compare with neighboring items. The useful result is not just a brighter photograph. It is the intended product, with an acceptable outline and a deliberate white area behind it.
The White Background tool combines background removal with a solid white finish. This guide explains the current workflow and what to inspect before treating the image as ready for a product page.
The editorial illustrations and diagrams explain the workflow. Images labeled as actual tool results are separate processed examples, not guarantees for every photo.
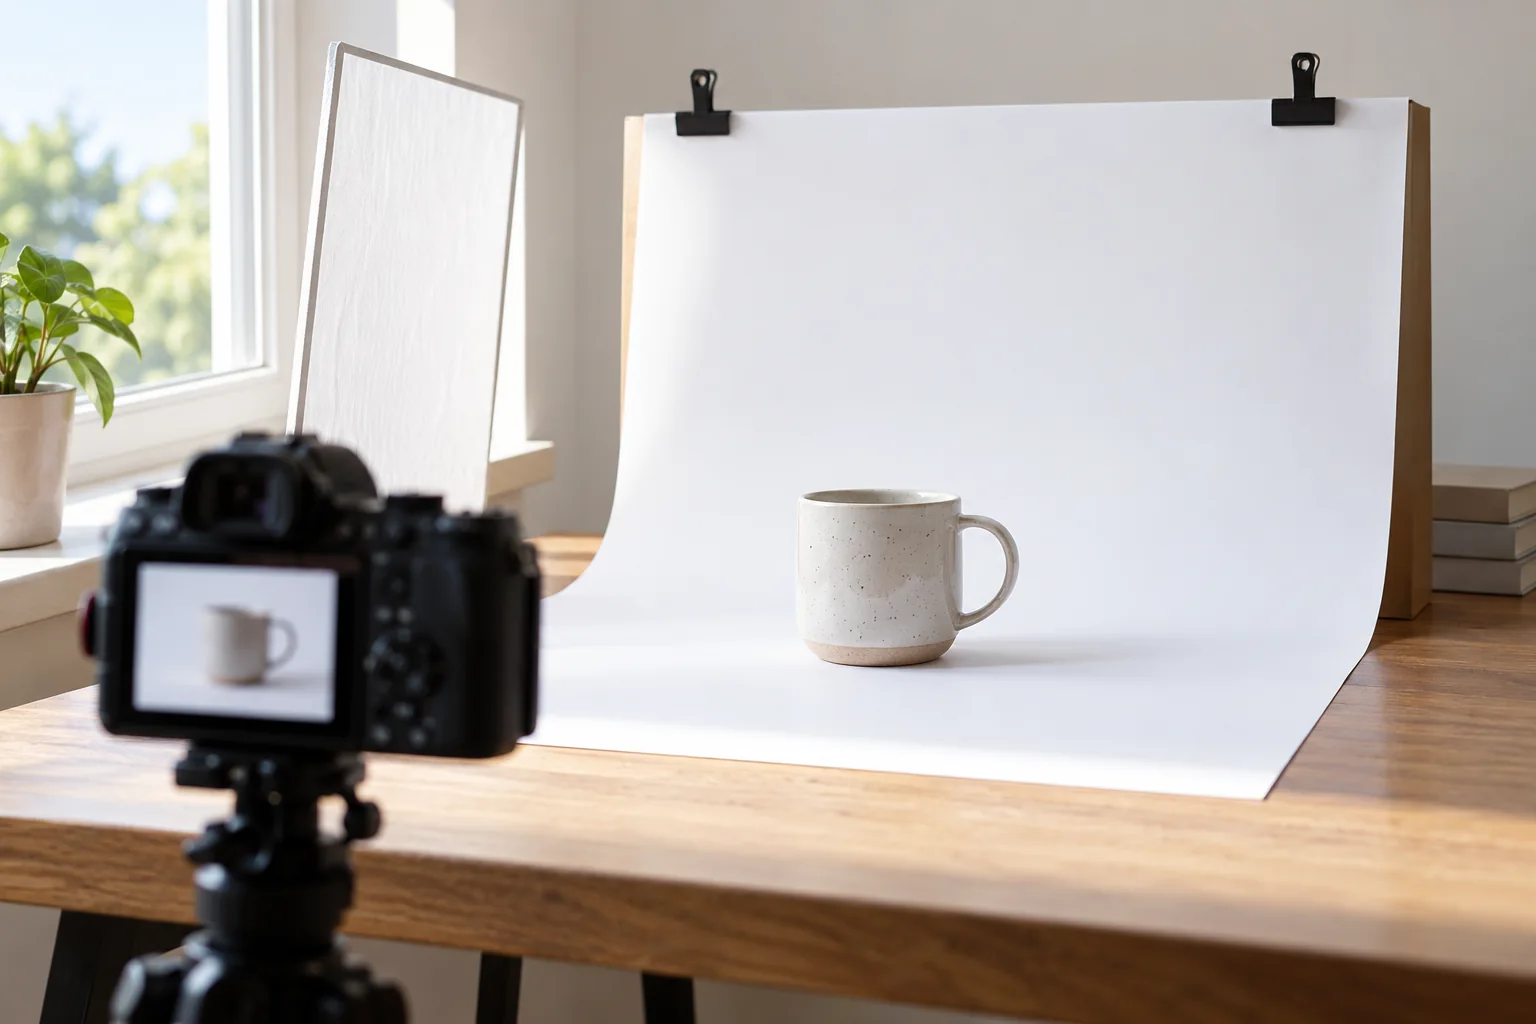 Editorial illustration: a clear source and simple lighting make the subject easier to inspect before background removal.
Decide what the product image should include
Look at the source before uploading. Should the product appear alone, on its stand or with an accessory? Automatic extraction can retain connected foreground objects, so define the asset you need rather than accepting any clean-looking group.
In our sample, both bottle and pedestal remain. That can suit one presentation and be inappropriate for another. A white background does not itself decide which objects belong in the final listing.
Check the requirements of the place where you will publish. Background color is only one part of an image brief; framing, dimensions, included accessories and accurate representation may also matter. Do not assume that a white export automatically satisfies every marketplace's rules.
Start with an accurate source
Use the best original available. Make sure the product shape, label and material are visible before extraction. A white background cannot repair a wrong camera angle, an unreadable label or a reflection that hides a feature you need to show.
If clarity is the main problem, compare Product Photo Enhancer as a separate preparation step. Review that output carefully before using it as a new source, especially printed information and distinctive surface details.
Keep the untouched original regardless of which version you prefer. It is your reference for checking whether the final image still represents the product.
 Original public sample: decide whether the pedestal belongs in your final product image.
Before uploading, confirm quality and White
Open White Background and check the available Flash or Pro quality, background and output format first. Prepare a supported JPG, PNG or WebP within the displayed limits, and review the upload button’s credit estimate before choosing the file.
The page starts with a white background choice. Confirm that White remains selected, especially if you have been comparing other colors in the workspace. The white preset uses a solid white background rather than merely increasing the scene's brightness.
Open the original on your device and confirm its filename before uploading, especially when product photos look similar. Use the upload control once the settings and cost are acceptable and you are ready to begin; do not treat file selection as only a preview step.
Check the quote, then upload the subject
Confirm the chosen quality, white background, format and estimated credits before selecting the correct file. Follow any required checks and the task’s progress; do not assume a separate start button will always appear after upload. Use plans and pricing and the live quote for current account conditions and cost.
Run the task once and follow its state. If a connection interruption occurs, use the existing task's recovery action before creating another independent request. Repeated fresh submissions can produce separate costs and duplicate files.
After processing, the extracted subject is shown with the selected background. Inspect the result before downloading rather than accepting it only because the surrounding area is white.
Check the full silhouette
Confirm that the product is complete and that no unwanted background fragments remain elsewhere in the image. Then inspect fine edges, internal openings and any support retained with the object.
A white background can hide a pale fringe, so temporarily test the current cutout against a contrasting color. Return to White when you finish. Changing the current result's solid background does not use additional AI credits.
| Check | Question to ask | Action if it fails |
|---|---|---|
| Foreground group | Are only the intended objects retained? | Reconsider the source or planned crop |
| Product outline | Is its shape intact? | Compare with the original before accepting |
| Internal gaps | Are openings actually clear? | Inspect on a contrasting color |
| Label and details | Does the image still represent the item? | Keep a more faithful version |
| Stray fragments | Is anything left away from the subject? | Review the whole canvas, not just the center |
Distinguish a white finish from new lighting
Placing a cutout on white does not recreate the lighting that a new studio photograph would have. Reflections and highlights in the product can still belong to the original scene. A shadow may also differ depending on what the extraction retained.
Inspect whether the product looks believable for your intended presentation. Do not treat a solid fill as a guarantee of realistic new reflections or contact shadows.
For a deliberate creative lighting or background change, AI Image Editor is a separate option. Review product identity and labels again after any generative edit.
 Actual output: the bottle and pedestal are retained against a white finish.
Choose framing for the destination
Review how much space surrounds the product and whether the important parts remain visible at thumbnail size. Keep similar scale and margins across related images when the catalog calls for a consistent presentation.
If you crop, keep another copy of the complete result. A narrow crop can solve a particular layout need but may not suit a different card, banner or product detail view.
The full editor accessible from AI Image Editor offers cropping, text and layers. Save a local download before moving between workflows, and avoid adding text or decoration when the destination calls for a plain product image.
Download the right version
With White selected, choose one of the available output formats and download. Open the actual file and check dimensions, color and edges outside the web preview.
If you also need a reusable subject, select Transparent and save a separate PNG. Do not confuse that asset with the white-background finished image. Both can be useful, but they serve different purposes.
For future brand-color variations, the current result can also be viewed and exported on another solid color without a new AI extraction. The background-color page explains that related goal.
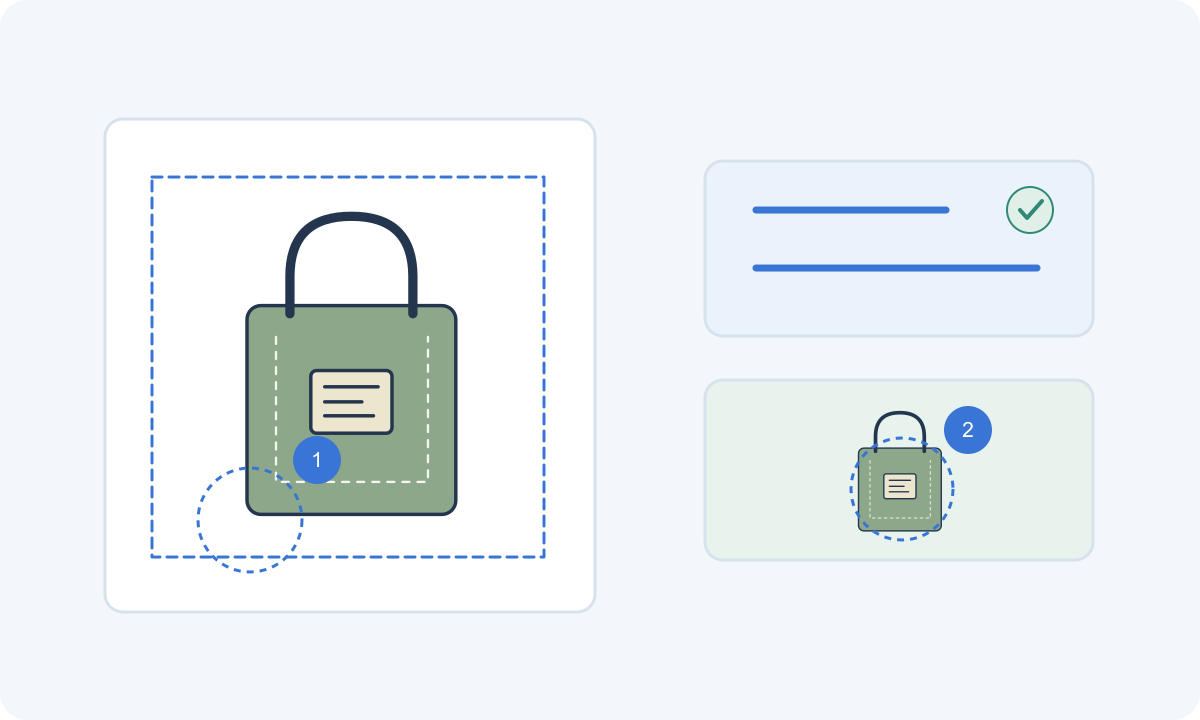 Check the subject, the surrounding space and the retained edges before exporting the white-background image.
Choose the next useful guide
-
White Background — Build a repeatable review process for white product images: source quality, foreground selection, margins, formats and checks across a catalog.
-
White Background — Compare a finished white product image with a reusable transparent cutout. Choose the correct background and export for websites, slides and design work.
Common questions
Is a white PNG the same as transparent PNG?
No. White is a real fill behind the subject. A transparent PNG allows the next layout's background to show through.
Does the tool automatically create a new studio shadow?
A solid white finish is not a physical relighting simulation. Inspect the retained reflections and contact area rather than assuming a new shadow is generated.
Do I need to process again to compare background colors?
No new AI request is needed for a different solid background on the current result. Review the quote only when deliberately starting another extraction.
Does this guarantee acceptance by a marketplace?
No. Check the destination's current image requirements as well as the product's accuracy, dimensions and framing. A white background is only one part of that decision.